How to build a Praxinoscope Theatre?

The Praxinoscope Theatre was my final MA project at NUA. It was complicated to build and the process was not made easier by the fact that there are no readily available guides on how to achieve this. I made sure to link some of the specific products I used. Just click on the product listed below to open the link. I tried to list the correct measurements; however, these changed due to trial and error. You might have to adjust as you go or maybe I’m just atrocious at maths and made this process a lot more confusing than it has to be. I cannot thank my dad enough for helping with this project. He truly did a lot of heavy lifting and helped me to problem solve; there were a lot of problems. This is not an easy afternoon DIY project. Please be careful if you’re going to attempt this. I cut myself on broken glass a few too many times. The project is very much aimed at adults.
MATERIALS

Tools:
Pencil/ Marking Tool
Jigsaw
Screwdriver
Kitchen Towels
Paint Brushes
Drill
2 Empty Spray Bottles
Materials:
Screws
Nuts and Bolts
Black Matt Spray Paint
Acrylic Paint
Bleach mixed with water
Wood Paint (Black, Pink, Dark Brown)
2 Large Sheets of Wood
Small wooden box
Materials Cont:
12 Bricks (or something sturdy to support the lid)
3 Hinges
2 Metal Chains
Large Sheet of Wood (as tall as the lid of the box)
Copper Pipe
Lamp, LED Light or a Candle
Rustig Agent (Bleach, Salt, Vinegar)
Wooden Box (or DIY the box)
2 Sheets of Metal (one taller than the other)
MEASUREMENTS

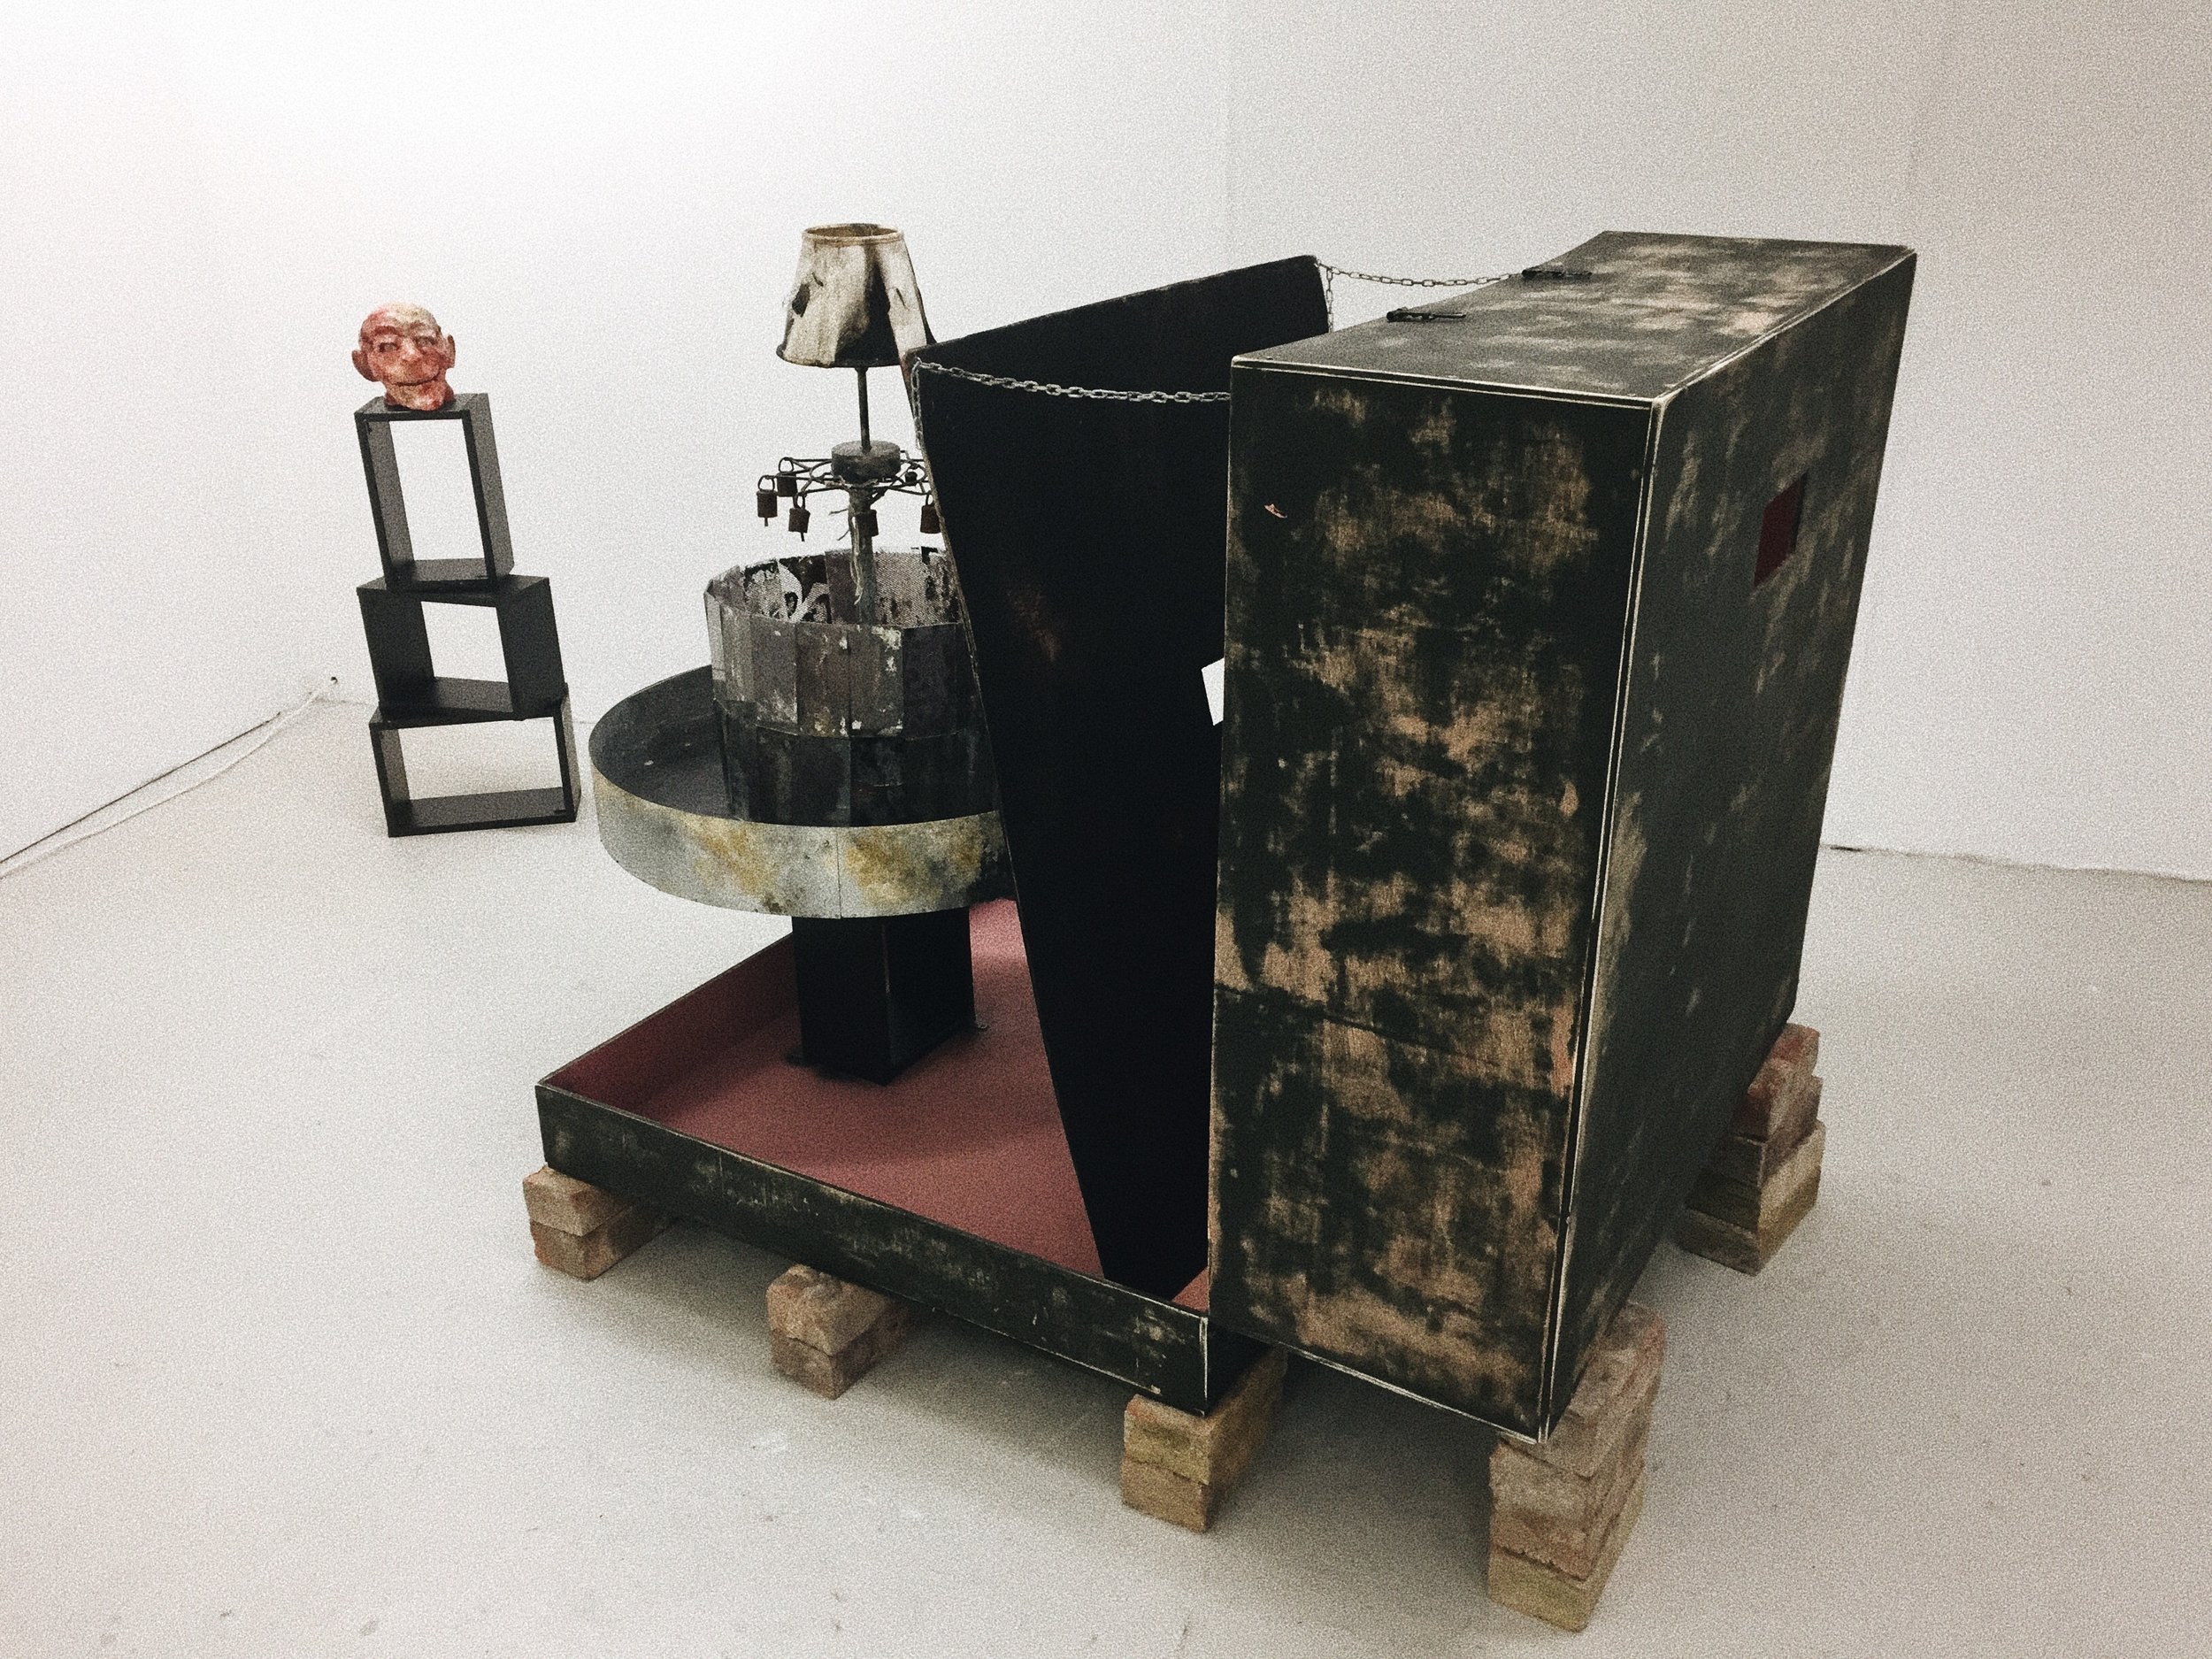
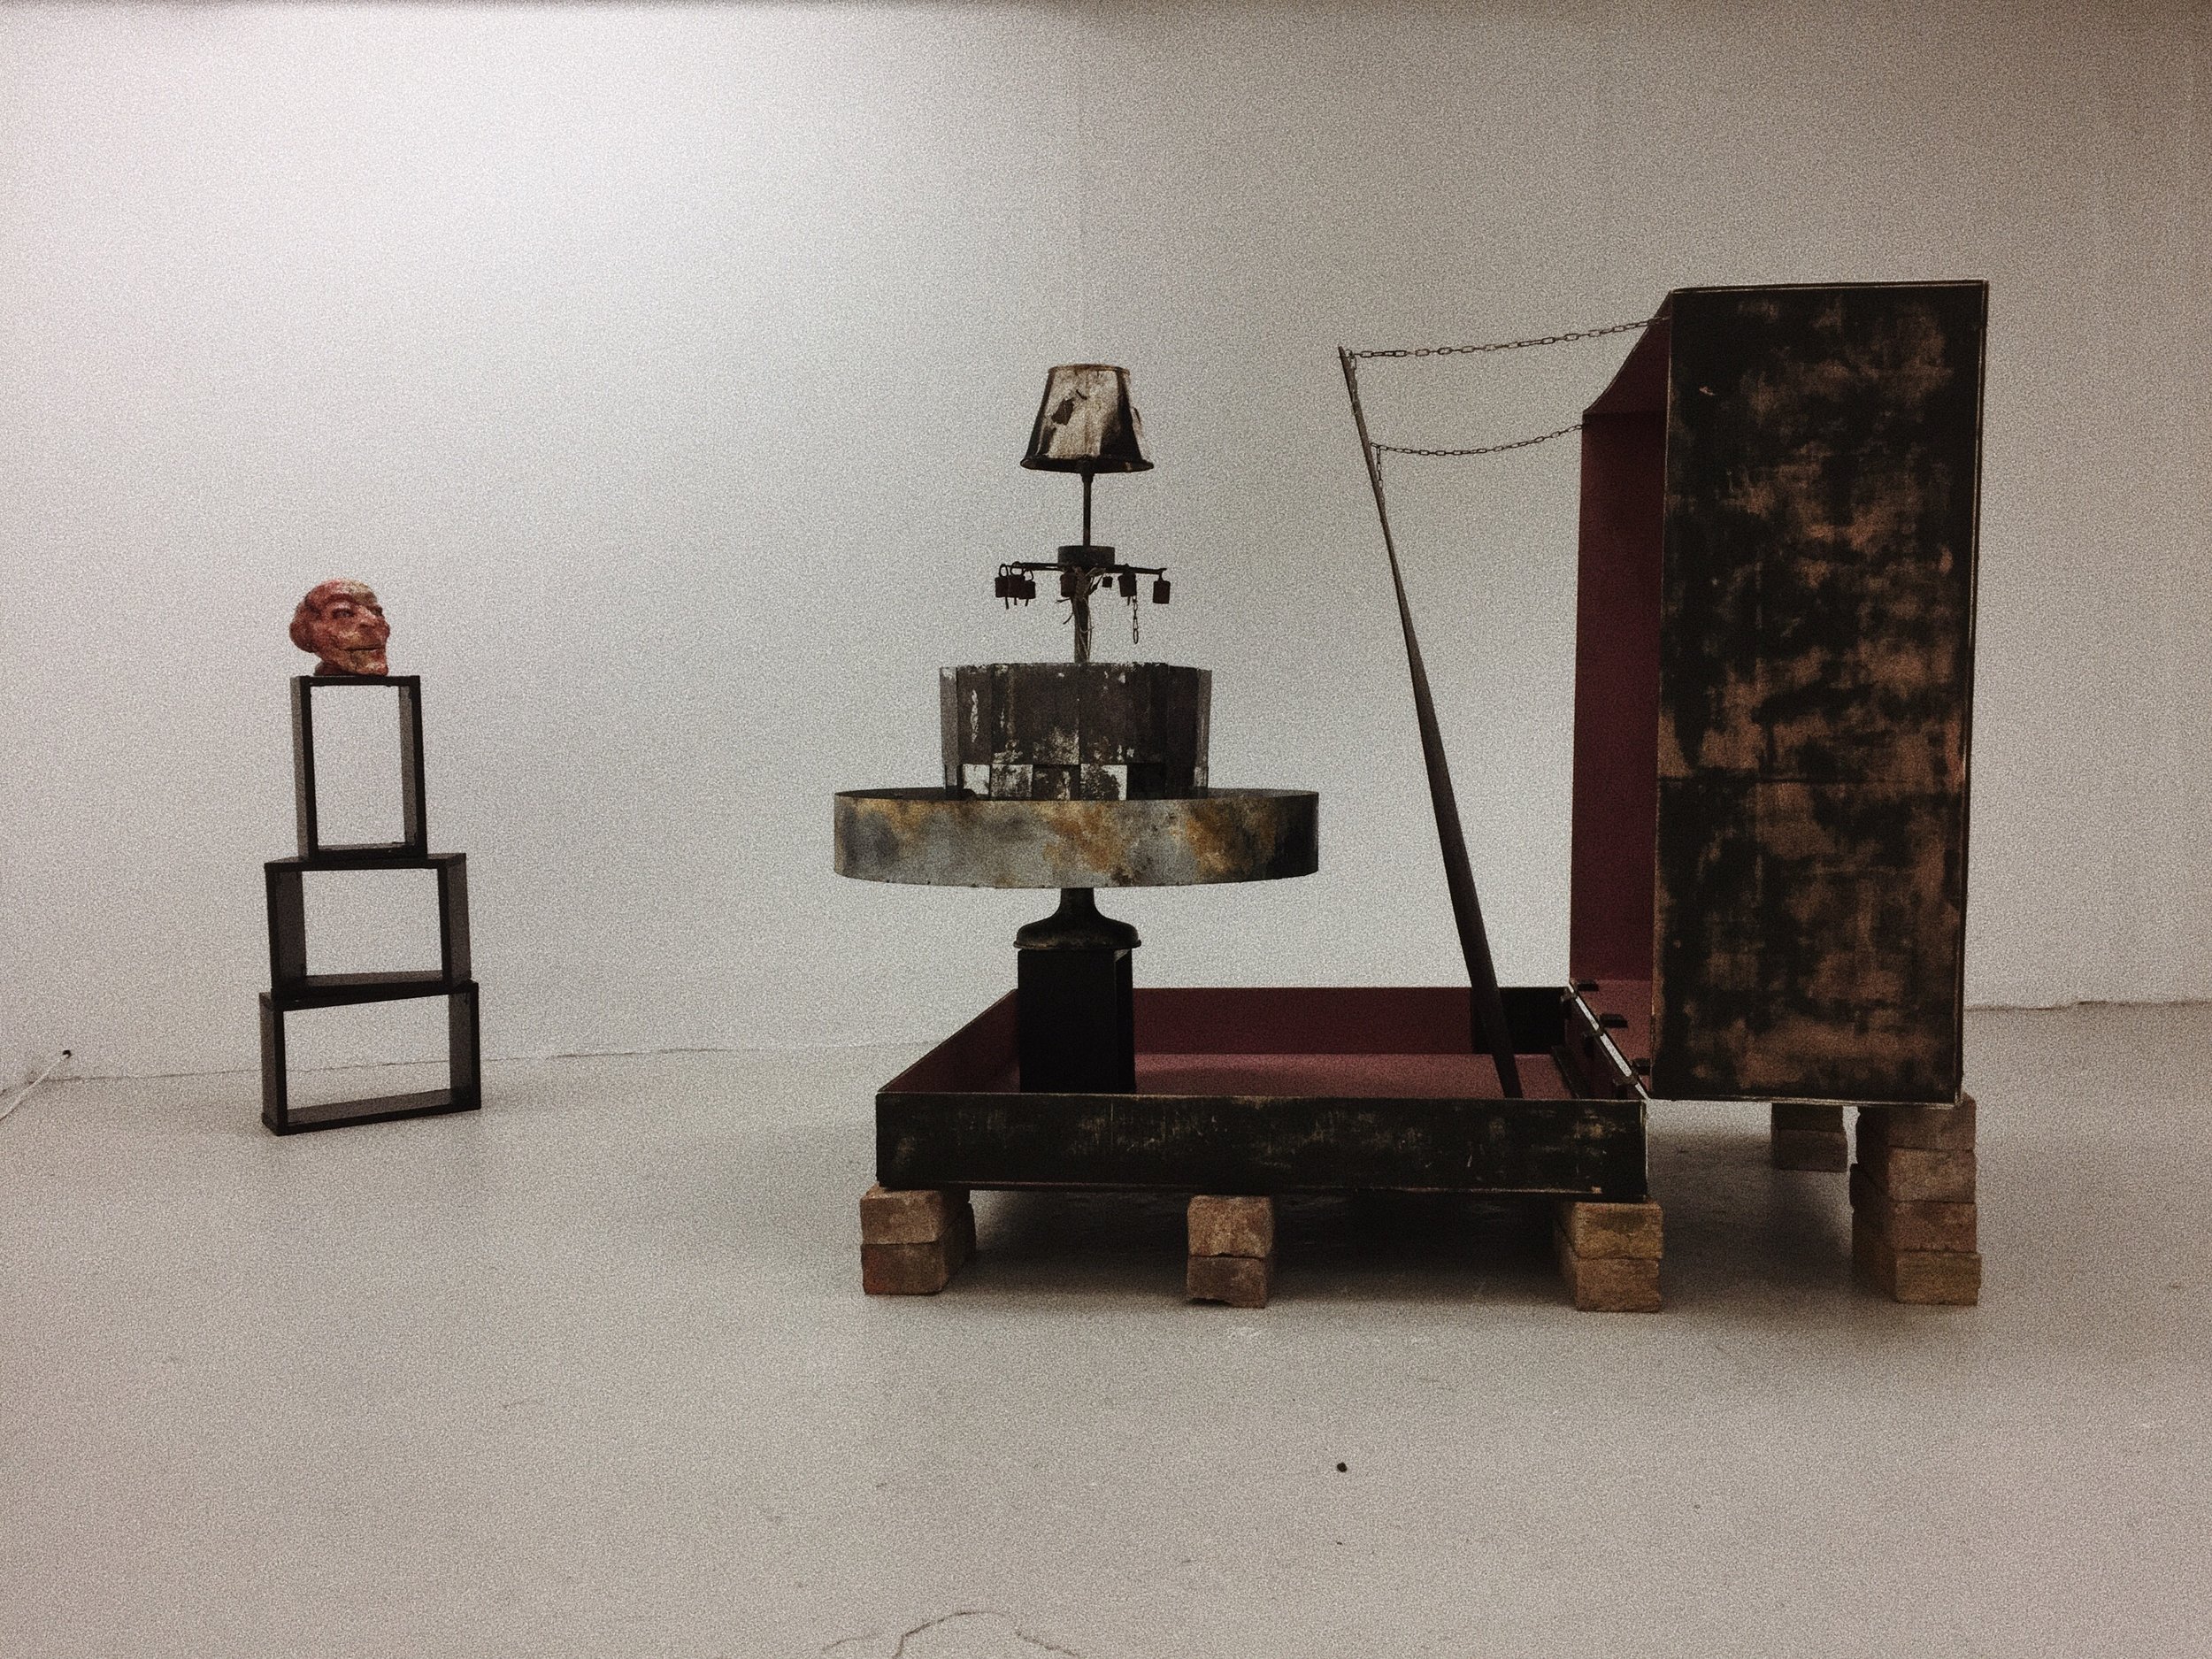
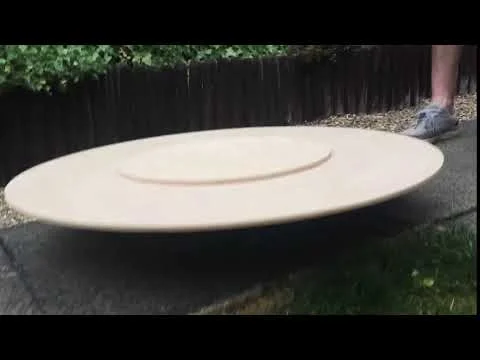
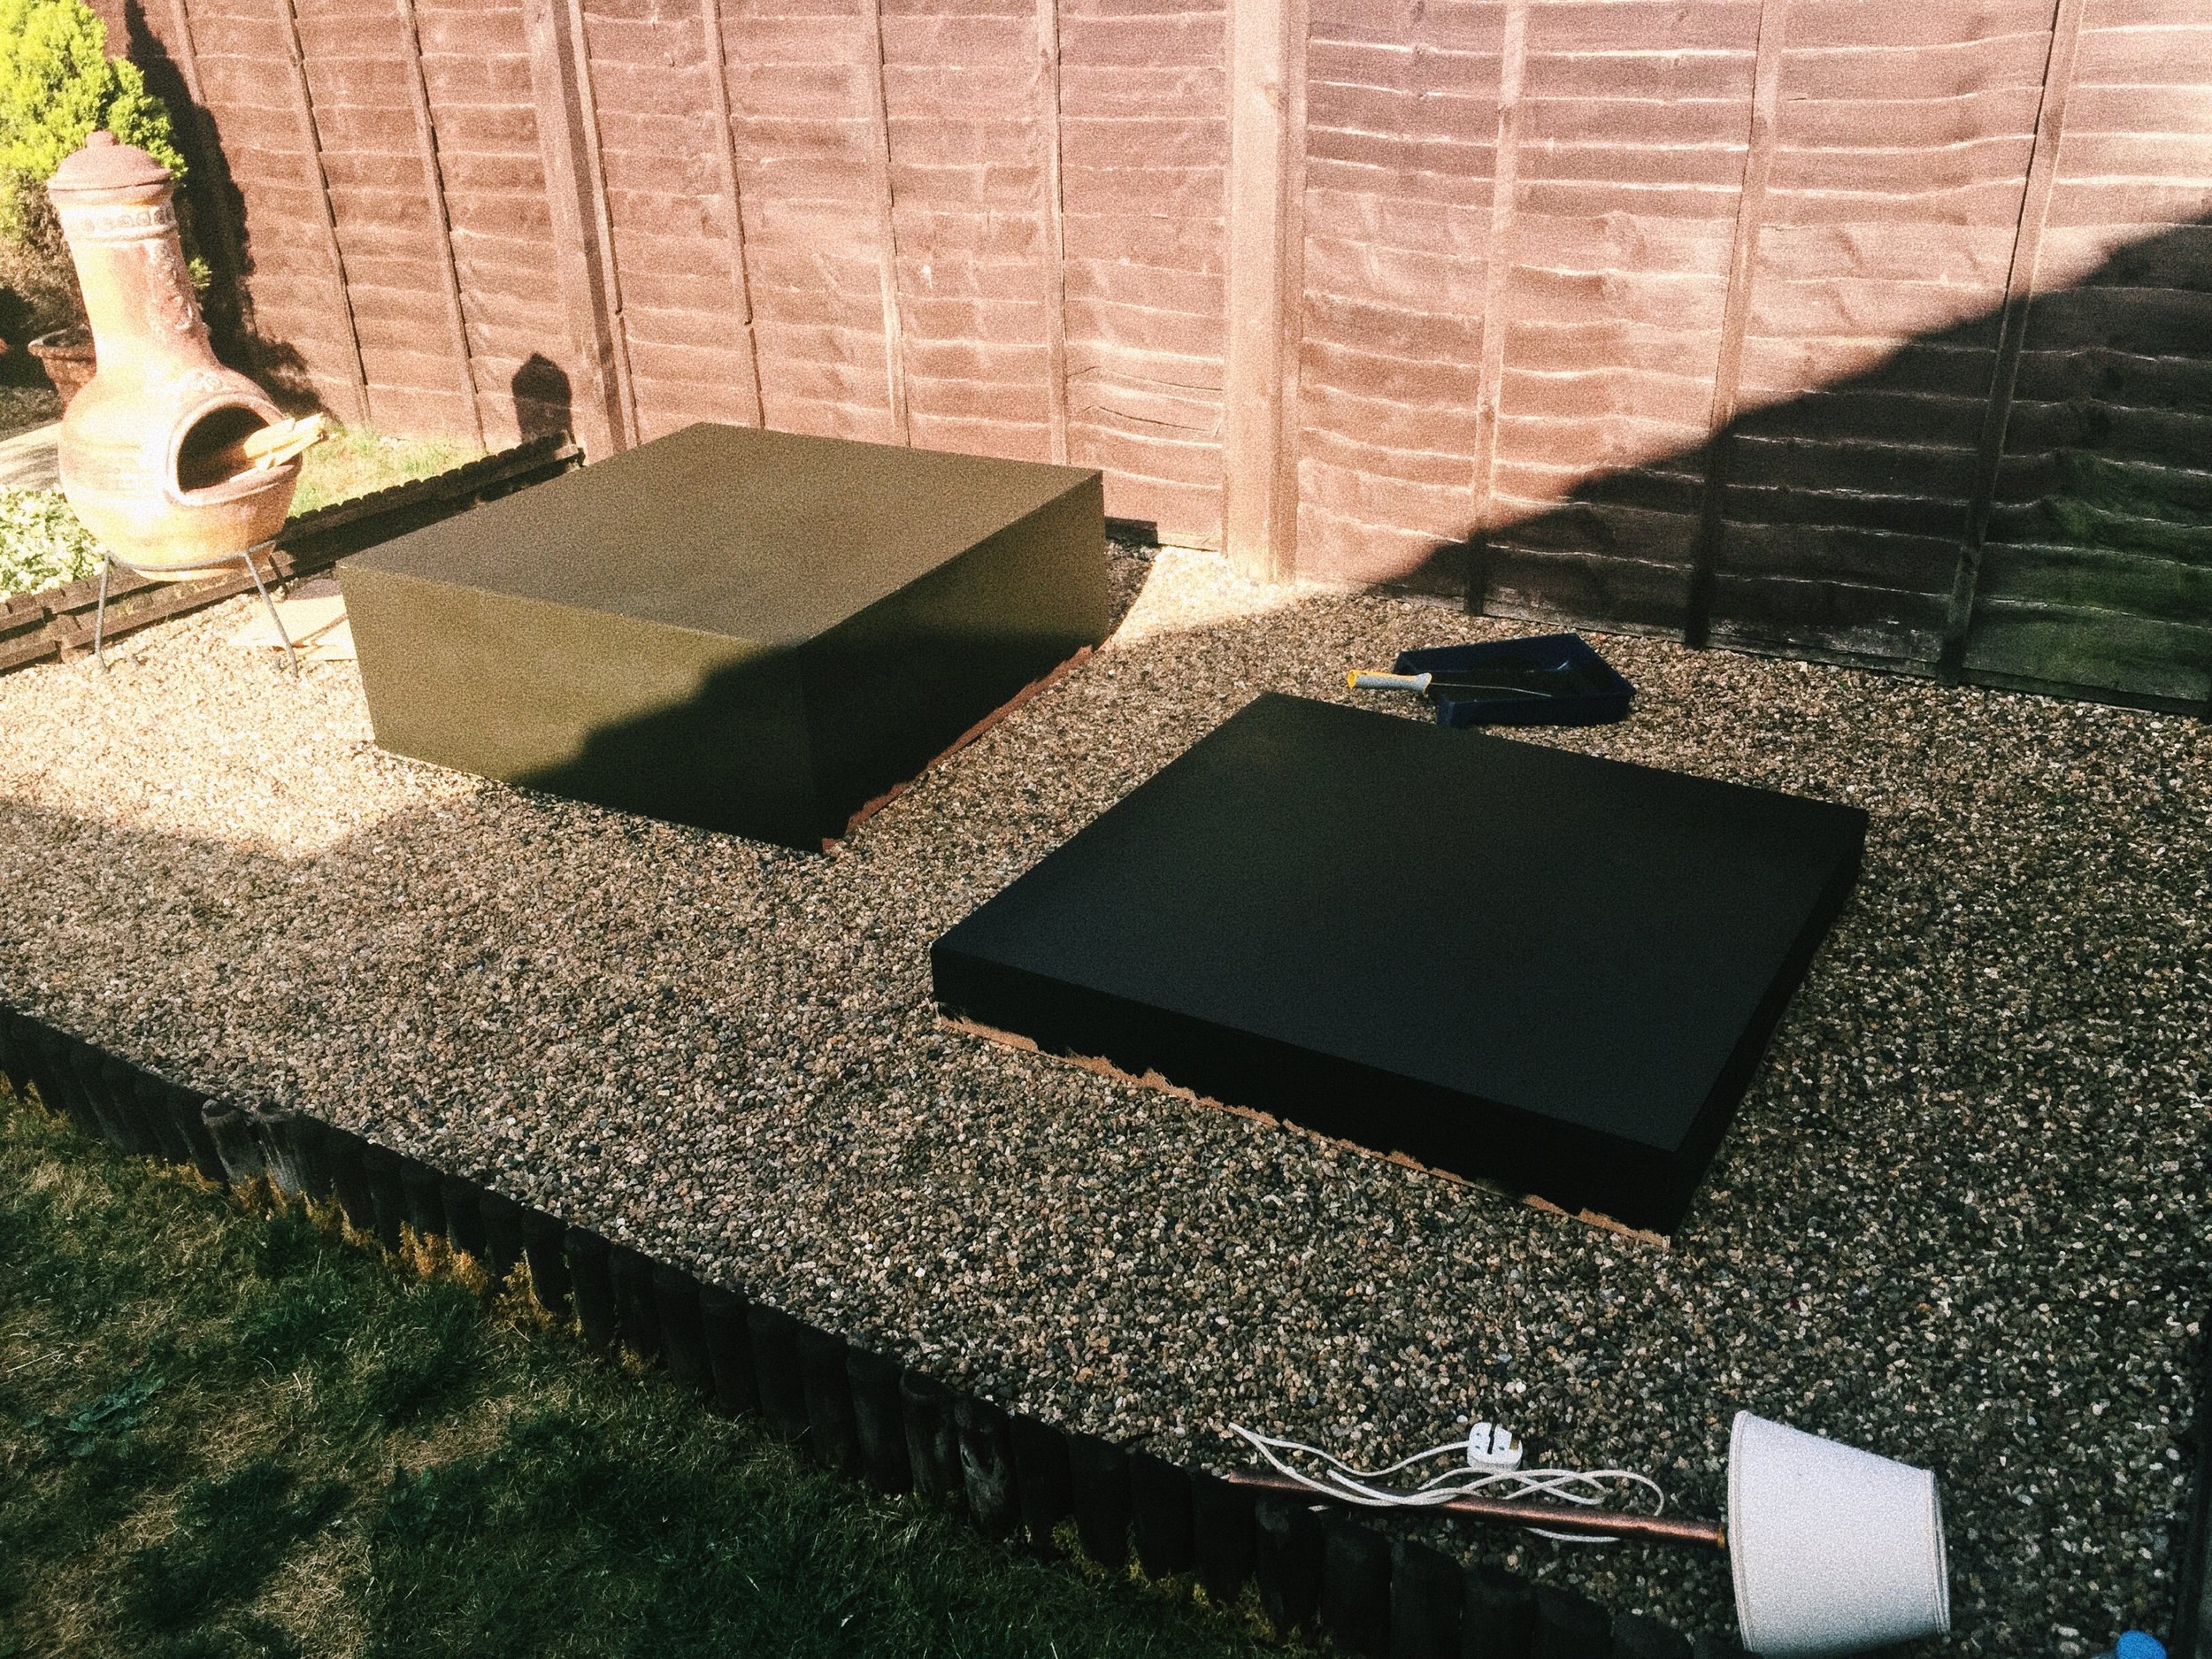
You can make the Praxinoscope Theatre whatever size you want. I went big because I wanted to both fill a large gallery space and accommodate 18 frames of stop motion animation. The Praxinoscope Theatre consists of 18 mirrors on the bottom of the inner cylinder and 18 mirrors on the top of the inner cylinder – these were used as decoration – which equals 18 frames of film. Both of these need to be the same size (18 mirrors = 18 images or 13 mirrors = 13 images). My mirrors were 15 cm tall and 7 cm wide. The inner cylinder was 30 cm tall. The sheet of metal bought for it was 127 cm long to accommodate all of the 18 mirrors. The inner cylinder was made out of chicken wire as it was easy to bend. The outer cylinder was 13 cm tall (a little bit shorter than the mirrors) and the sheet of metal bought to make it was 254 cm long – twice as long as the inner cylinder. I chose a different metal as I wanted a variety of textures; however, I also made sure to pick one that can be easily bent. The box was 90 cm by 90 cm and the insert card was as tall as the lid of the box. The measurements seen in the picture above are wrong. I decided to change them when I got to the shop. The types of metal used can be seen in the video in the ‘Materials’ section. The bottom thing to take away from this is that the number of mirrors must equal the number of frames or images you intend to make, the inner cylinder must be as big as the mirrors you are using, and the outer cylinder needs to be twice as big as the inner cylinder. The box must be big enough to accommodate the cylinders with a little room to adjust how far the cylinders are from the viewing hole. The insert card is used to block out the rest of the environment so that you only see the image; therefore, it should be as big or at least as tall as the lid of the Praxinoscope Theatre where the viewing hole is cut out.
MAKING OF THE CYLINDERS

Getting the cylinders right is potentially the most important aspect of the making of the Praxinoscope Theatre. After you decide on the size and obtain all of your materials, it’s time to calculate the circumferences of both cylinders and cut out the base for them. You can google how to do this and I assure you that you will find a more coherent explanation than what I can offer. Then you need to calculate the diameter of each of the cylinders and divide it by half to get the radius. Lightly hammer a nail in the centre of one of the large sheets of wood and attach a string with a pencil at the end of it. The string should be the length of the radius. Then draw your circle. Repeat for the second cylinder.
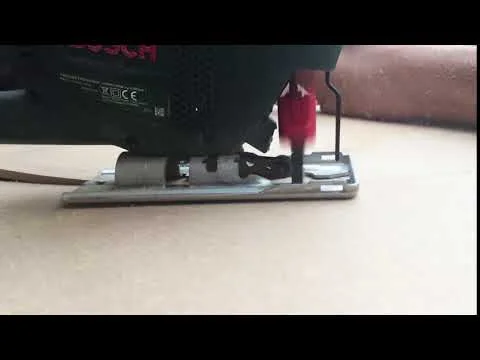
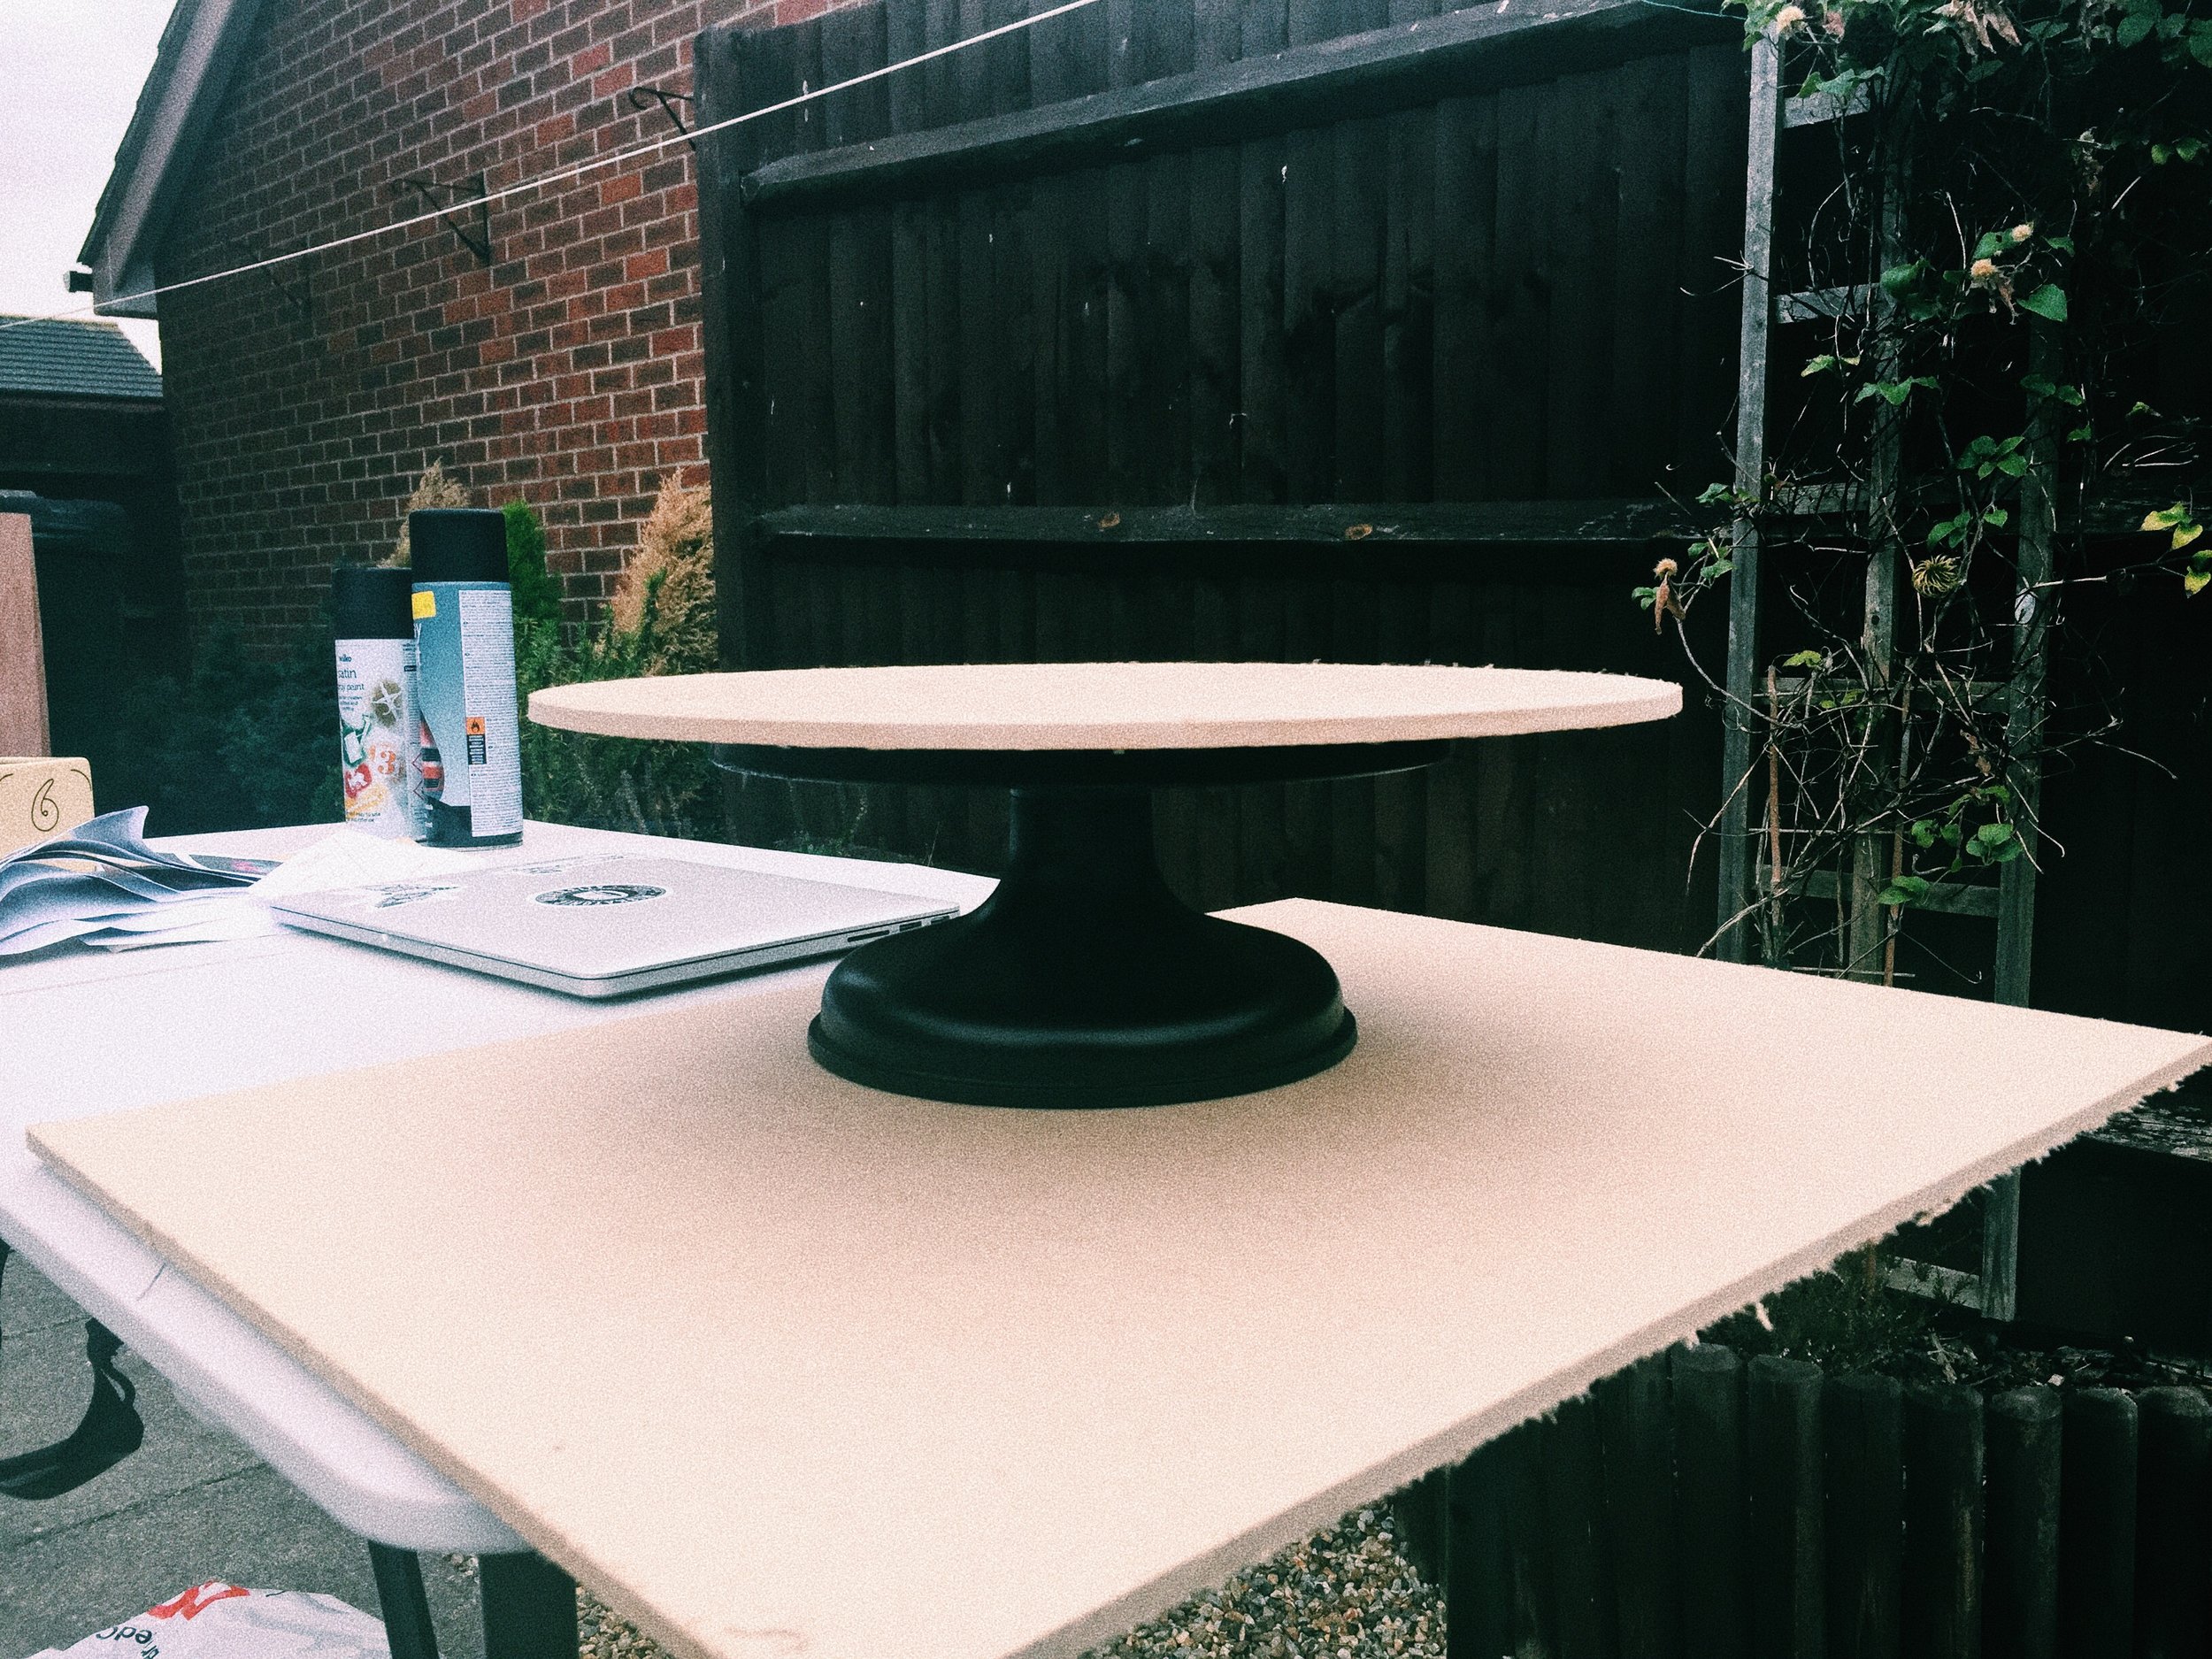
Slowly cut out the circle with a jigsaw (if you use a regular saw it will take you forever) making sure you follow the line precisely. You don’t want to end up with an uneven circle. Repeat for the second base. If you do end up with some mistakes, sand it down or use the jigsaw. We had to repeat the process twice because the first circle did end up uneven.
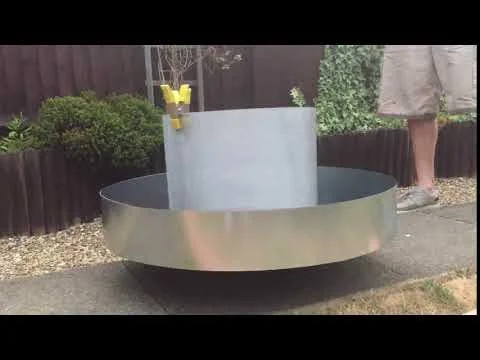
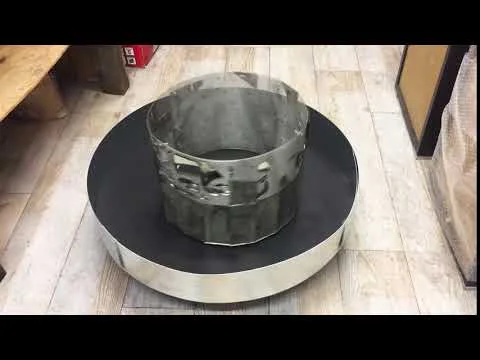
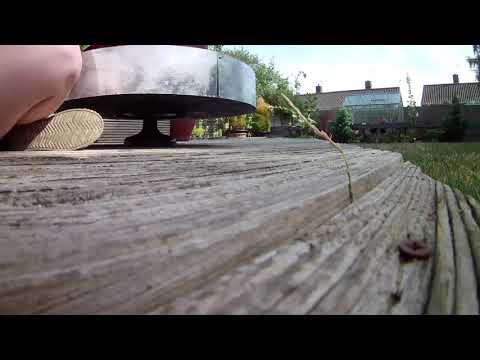
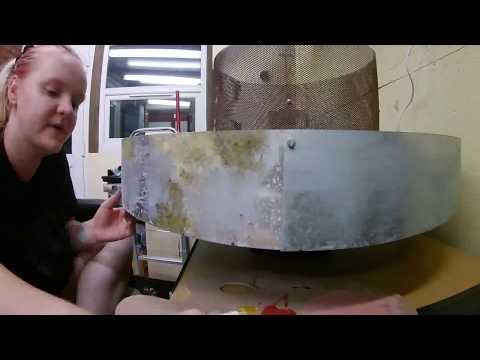
When you have your base ready and painted black, it’s time to attach the metal sheets to them. Luckily my sheets were the exact height and length I needed them to be. I used hammer and nail on the outer cylinder and nuts and bolts on the inner cylinder to ensure the chicken wire stays in place – it separates at the top. We then attached the bottom cylinder to the cake turntable, which I have previously spray painted black. Make sure the cylinder and the turntable are centred before screwing them together. At this point, I have not fixed the inner cylinder yet as I wanted to attach the mirrors first.
ANTIQUING AND ATTACHING MIRRORS

The process of antiquing the mirrors was very satisfying, and I found it easy yet effective. You don’t have to do this; simply hot glue gun the mirrors to the inner cylinder and move on. However, I wanted my Praxinoscope Theatre to look old; almost as though it had survived a fire. Piece of advice – all mirrors are different and it’s always best to try a small area of the mirror before you begin the process. My first batch of mirrors had one lining of protective paint at the back; whereas, the second batch had 2. This confused me, and I got rid of both layers. When I sprayed the mirrors with the bleach mixture, the mirrors essentially stopped being mirrors.
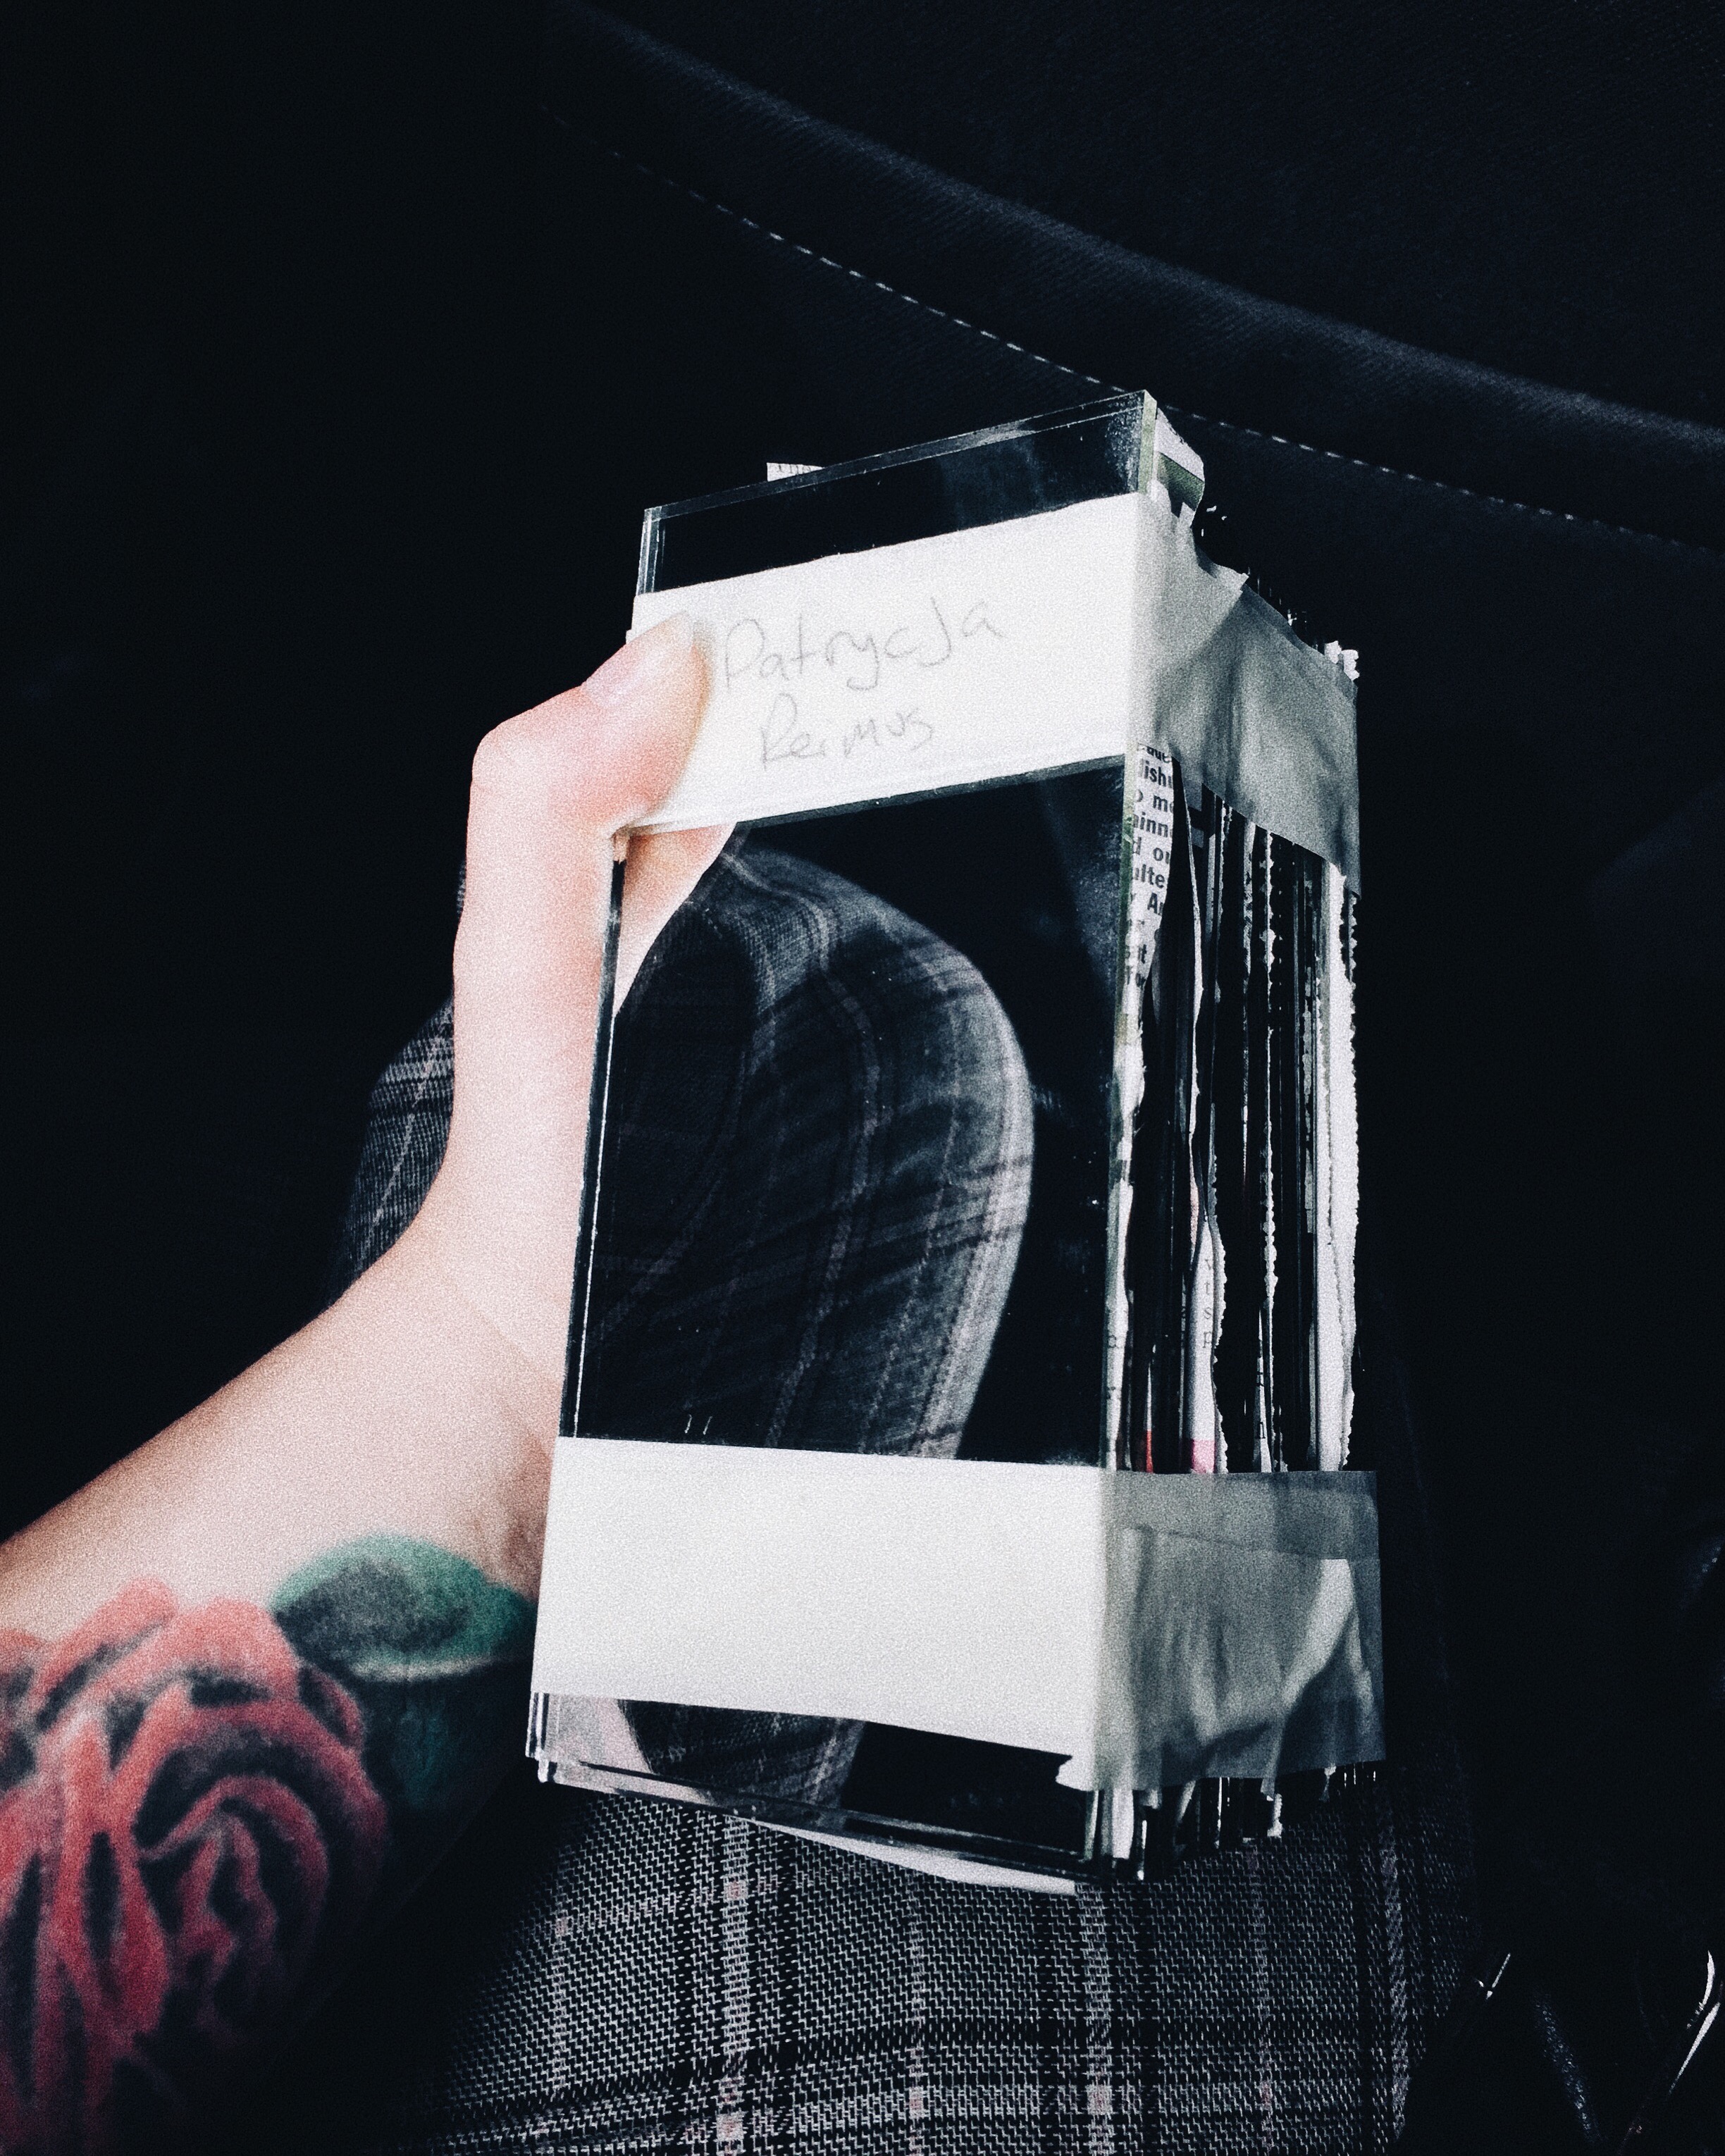
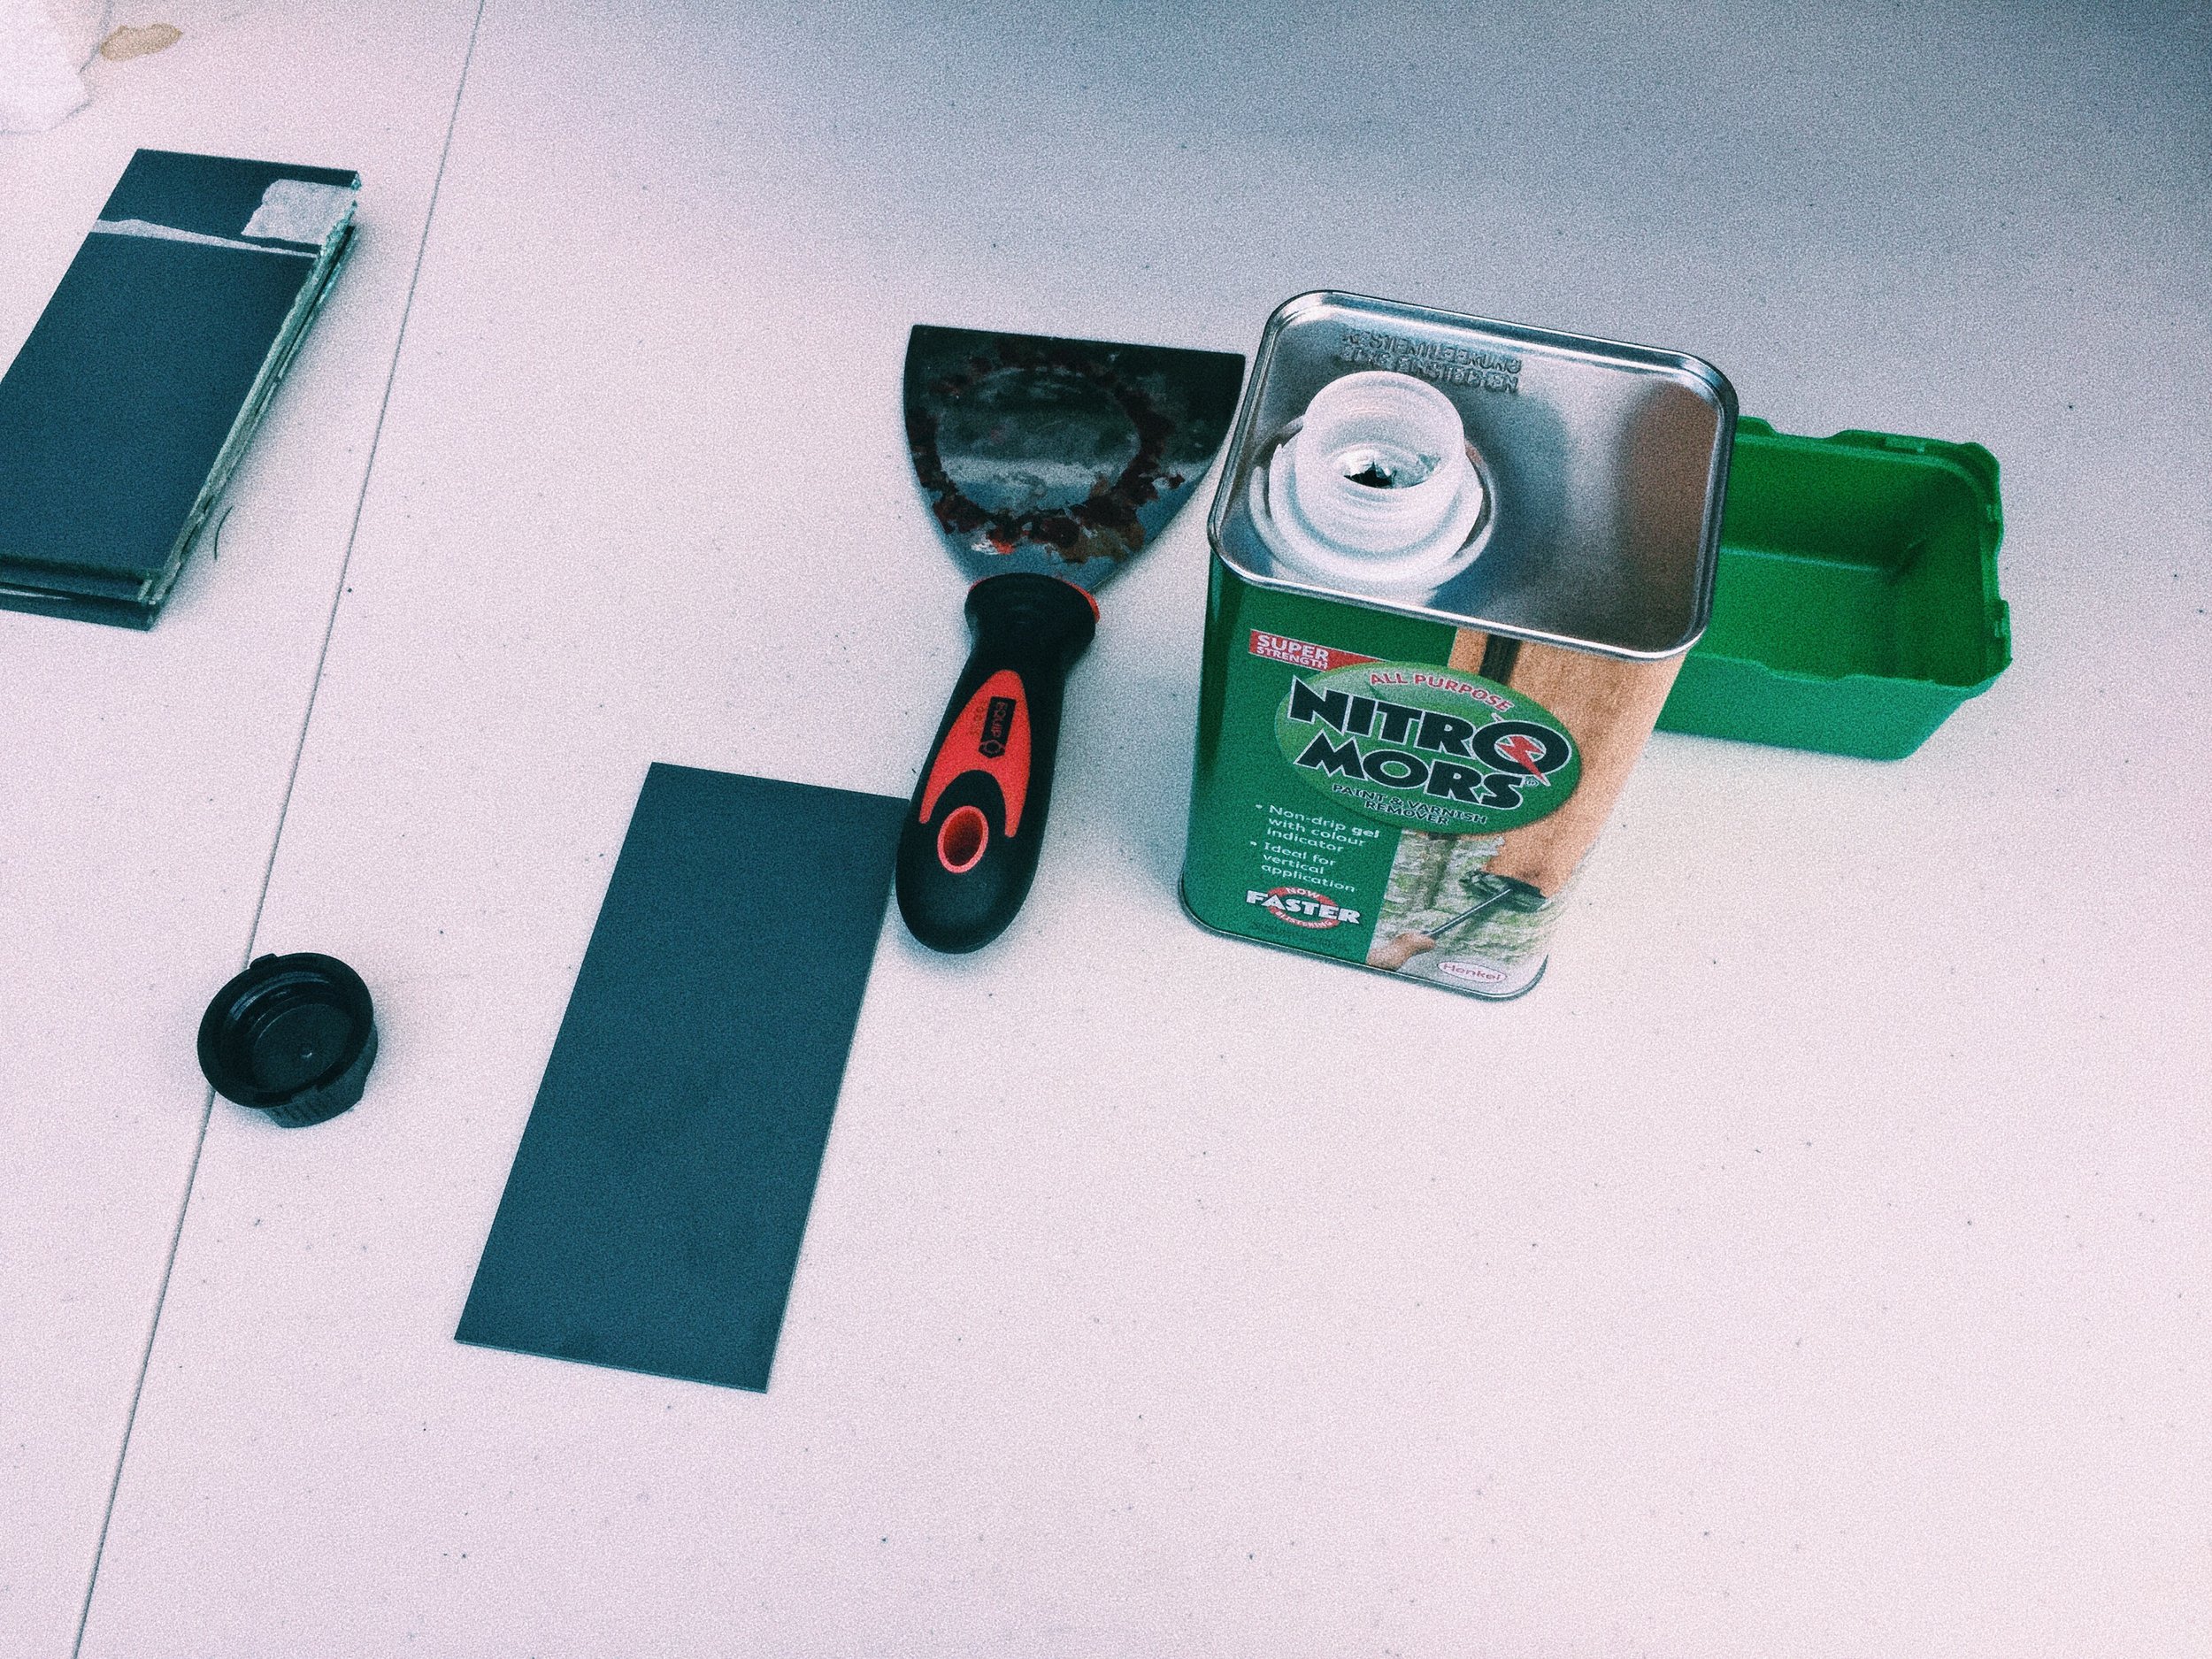
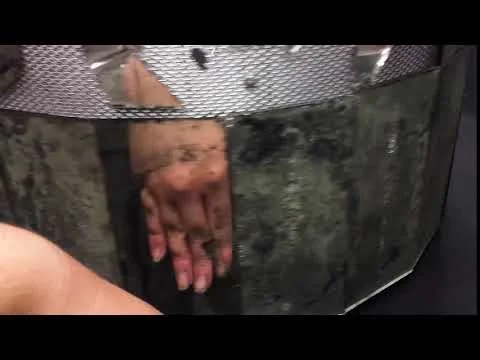
After obtaining your mirrors – I had mine ordered and laser-cut to size from a company called GoGlass – use the paint stripper on the back of the mirrors. After a while, the back surface will become wrinkly and you can remove the paint which should reveal a ‘copper’ layer. This is where you want to test your mirror. From my experience, if it has one layer of paint, go ahead and spray the mirror with the bleach mixture. If it has two layers, don’t remove the second layer and instead spray that layer with bleach rather than the ‘copper’. The bleach mixture I’m using is two-part bleach, and two-part water poured into an empty spray bottle. Shake it to mix it before use.
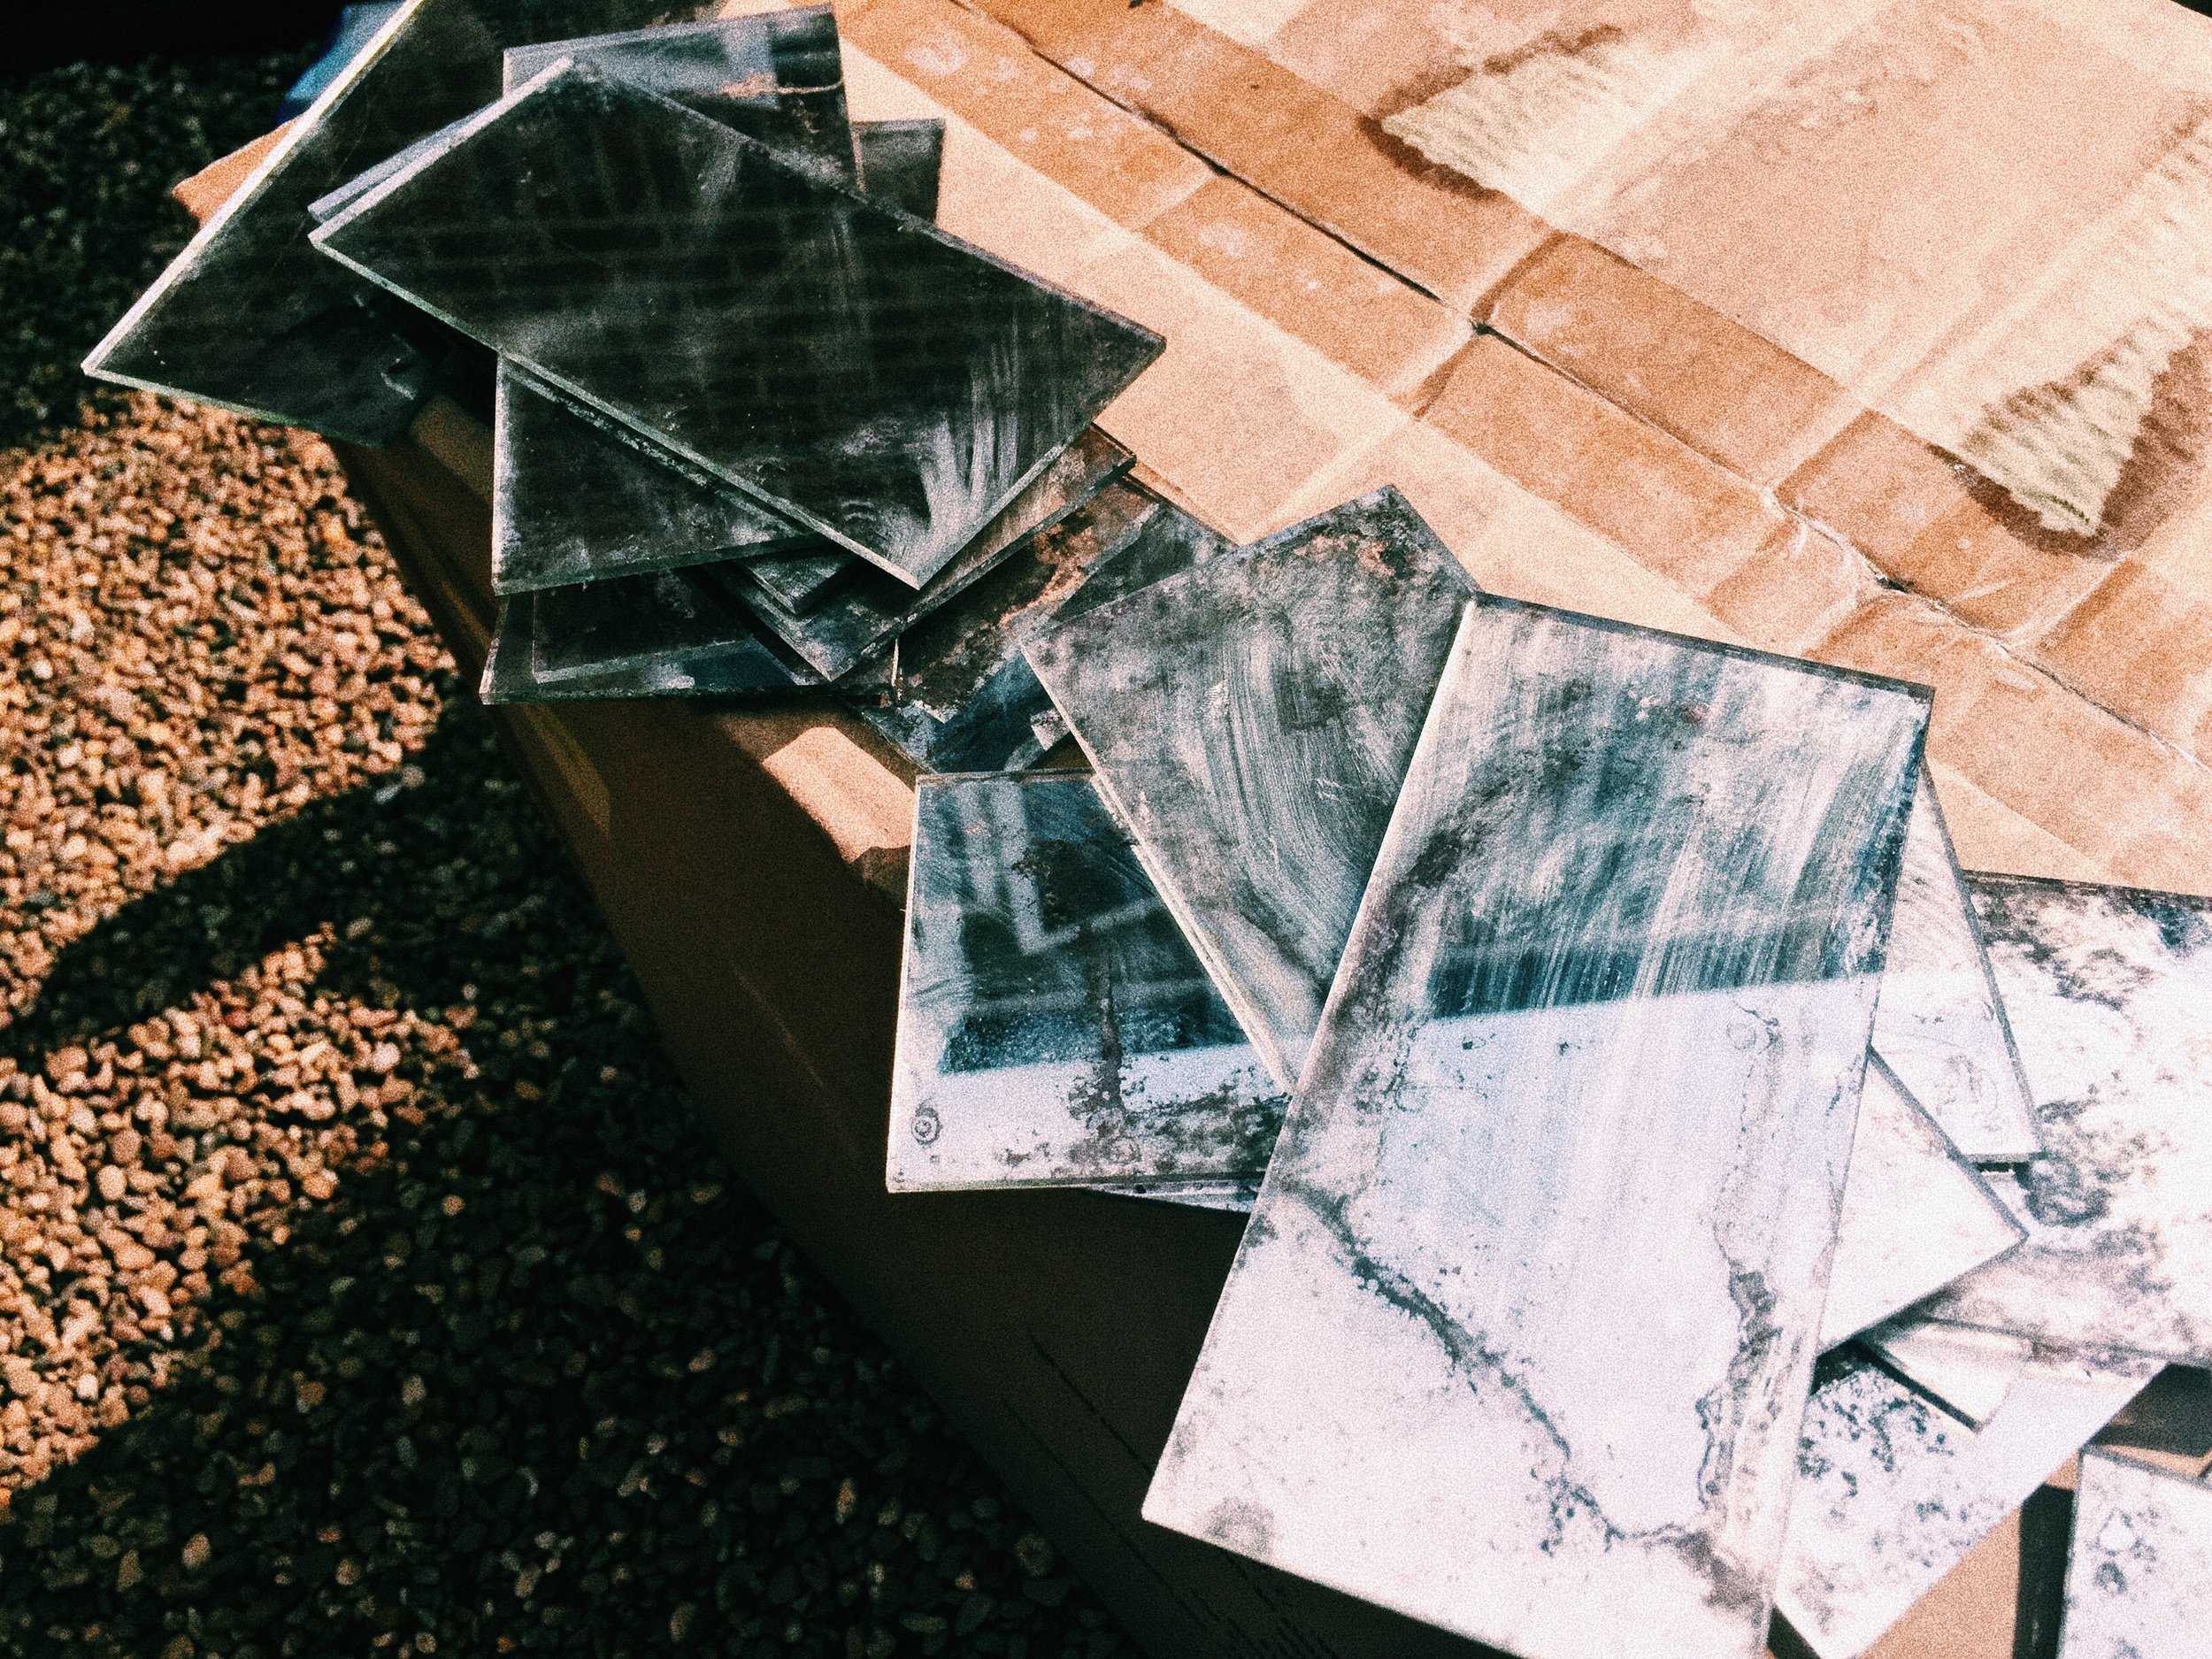
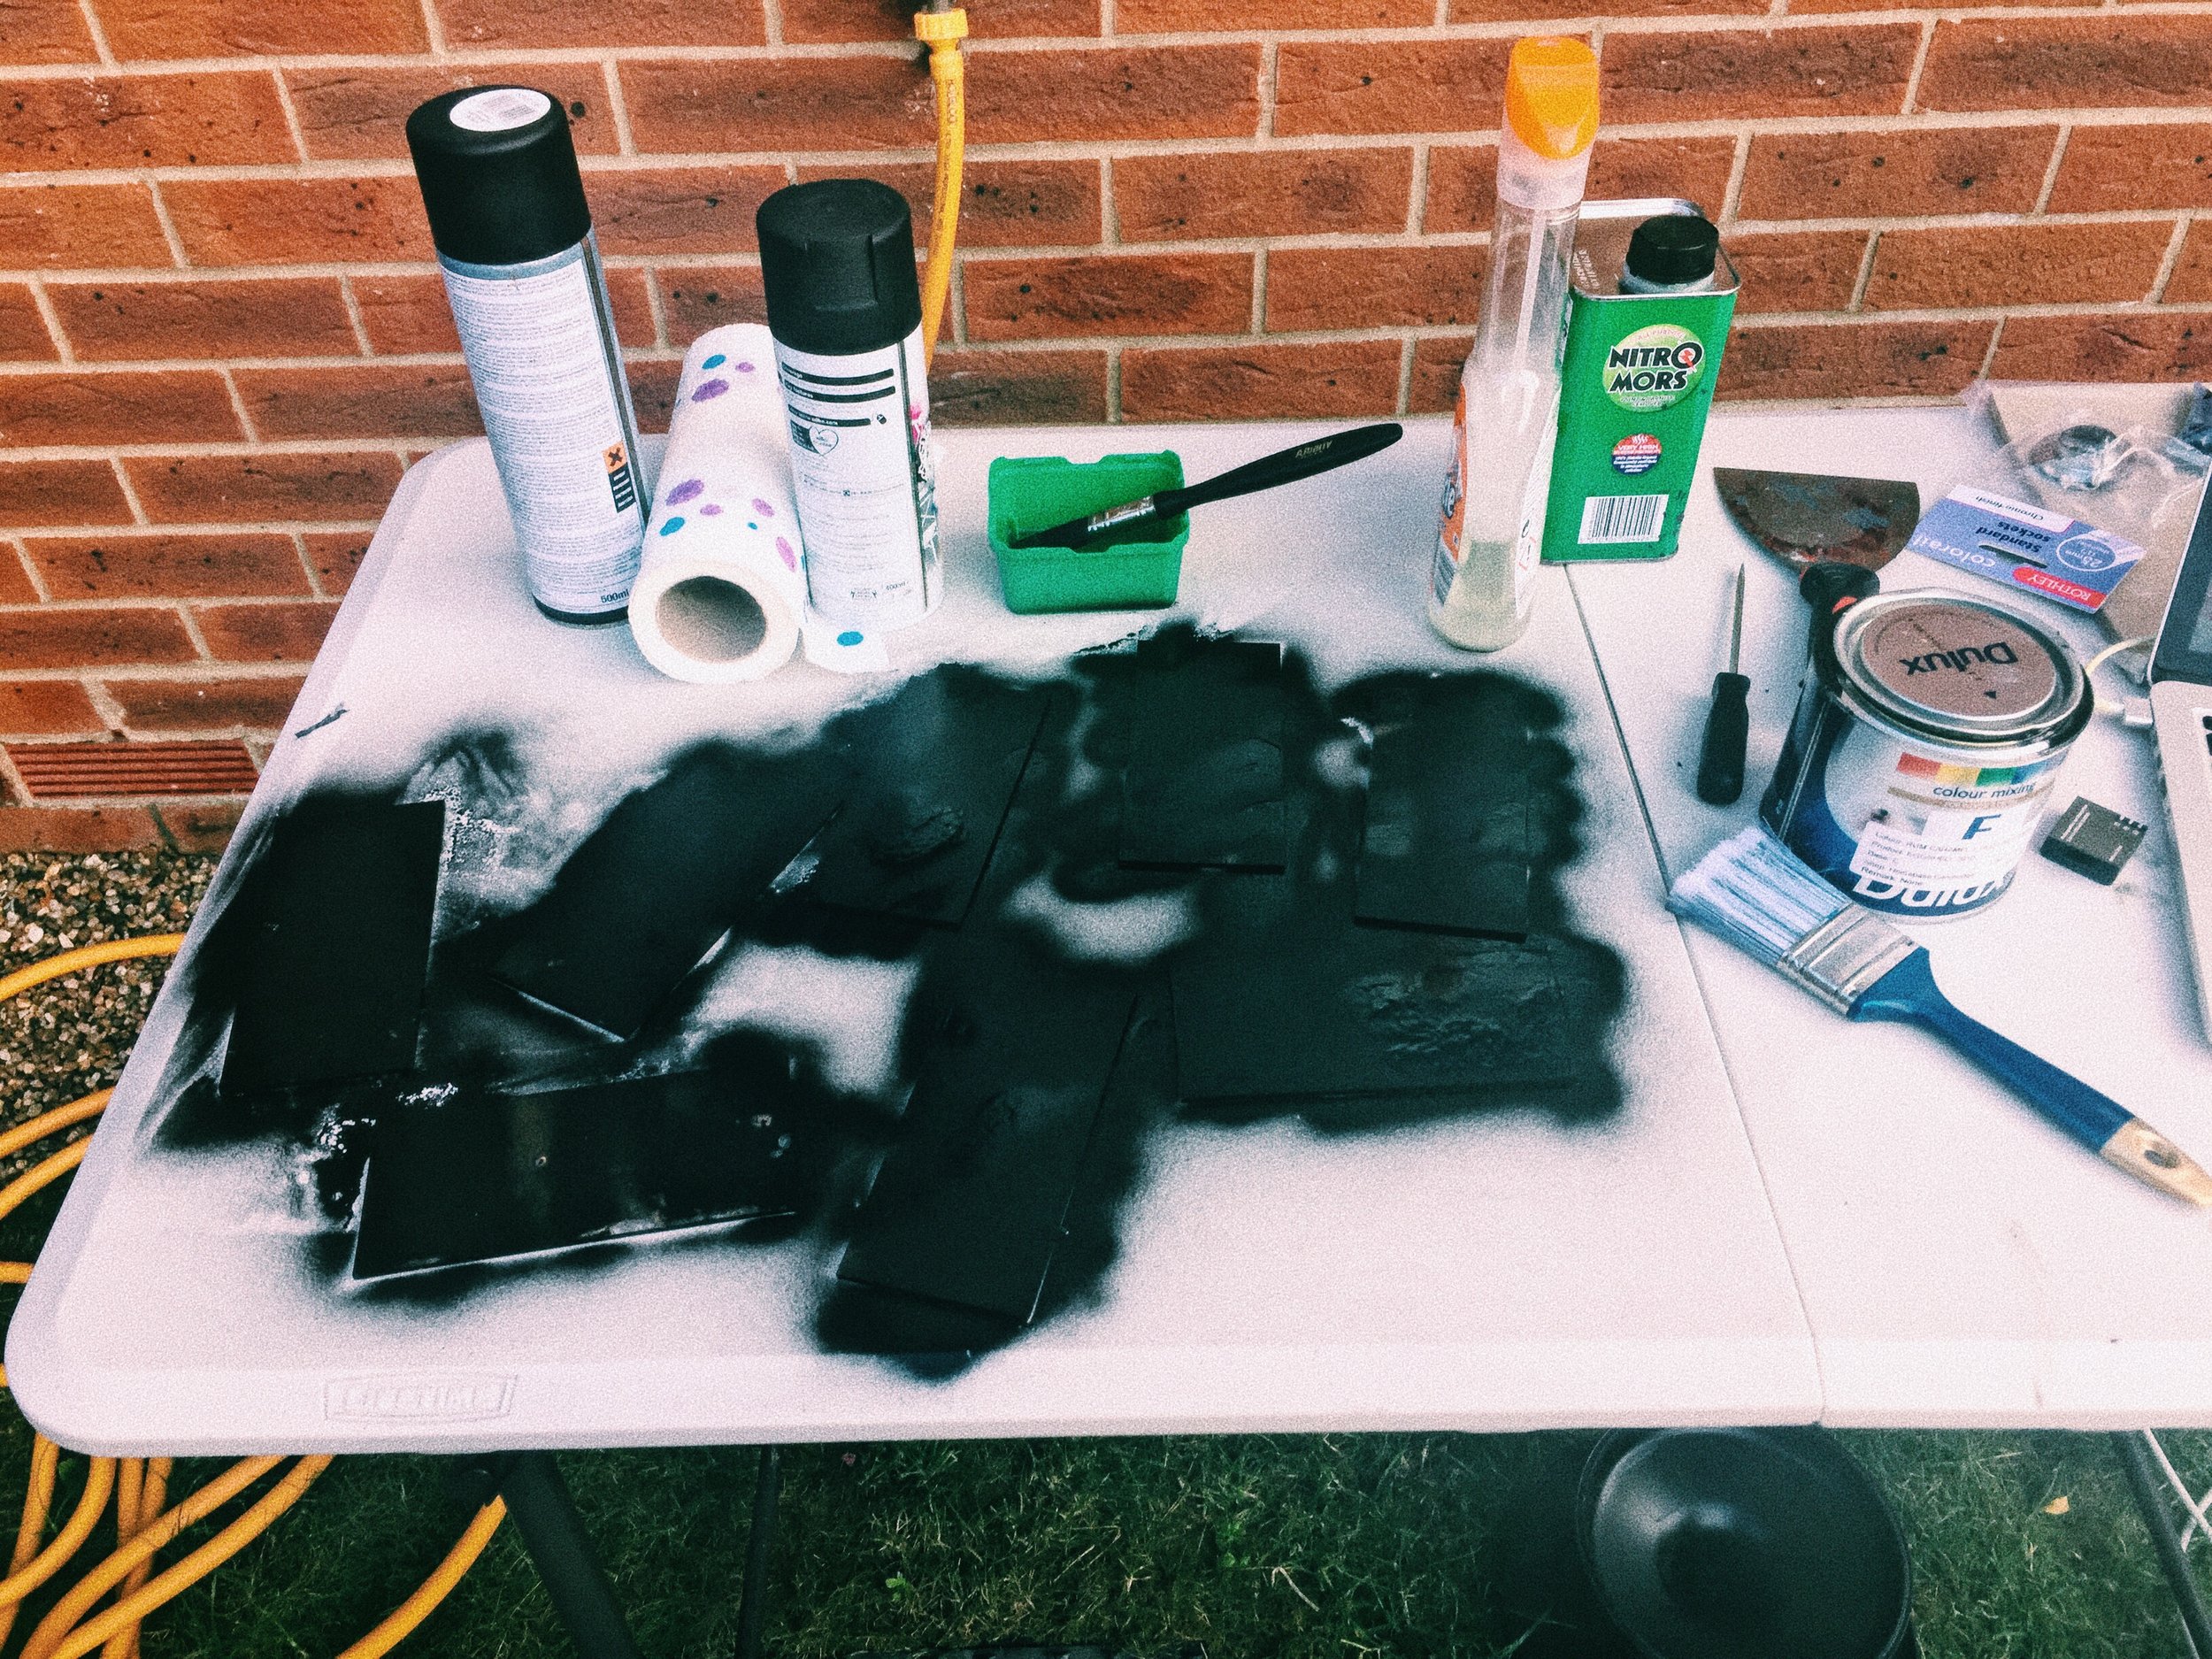
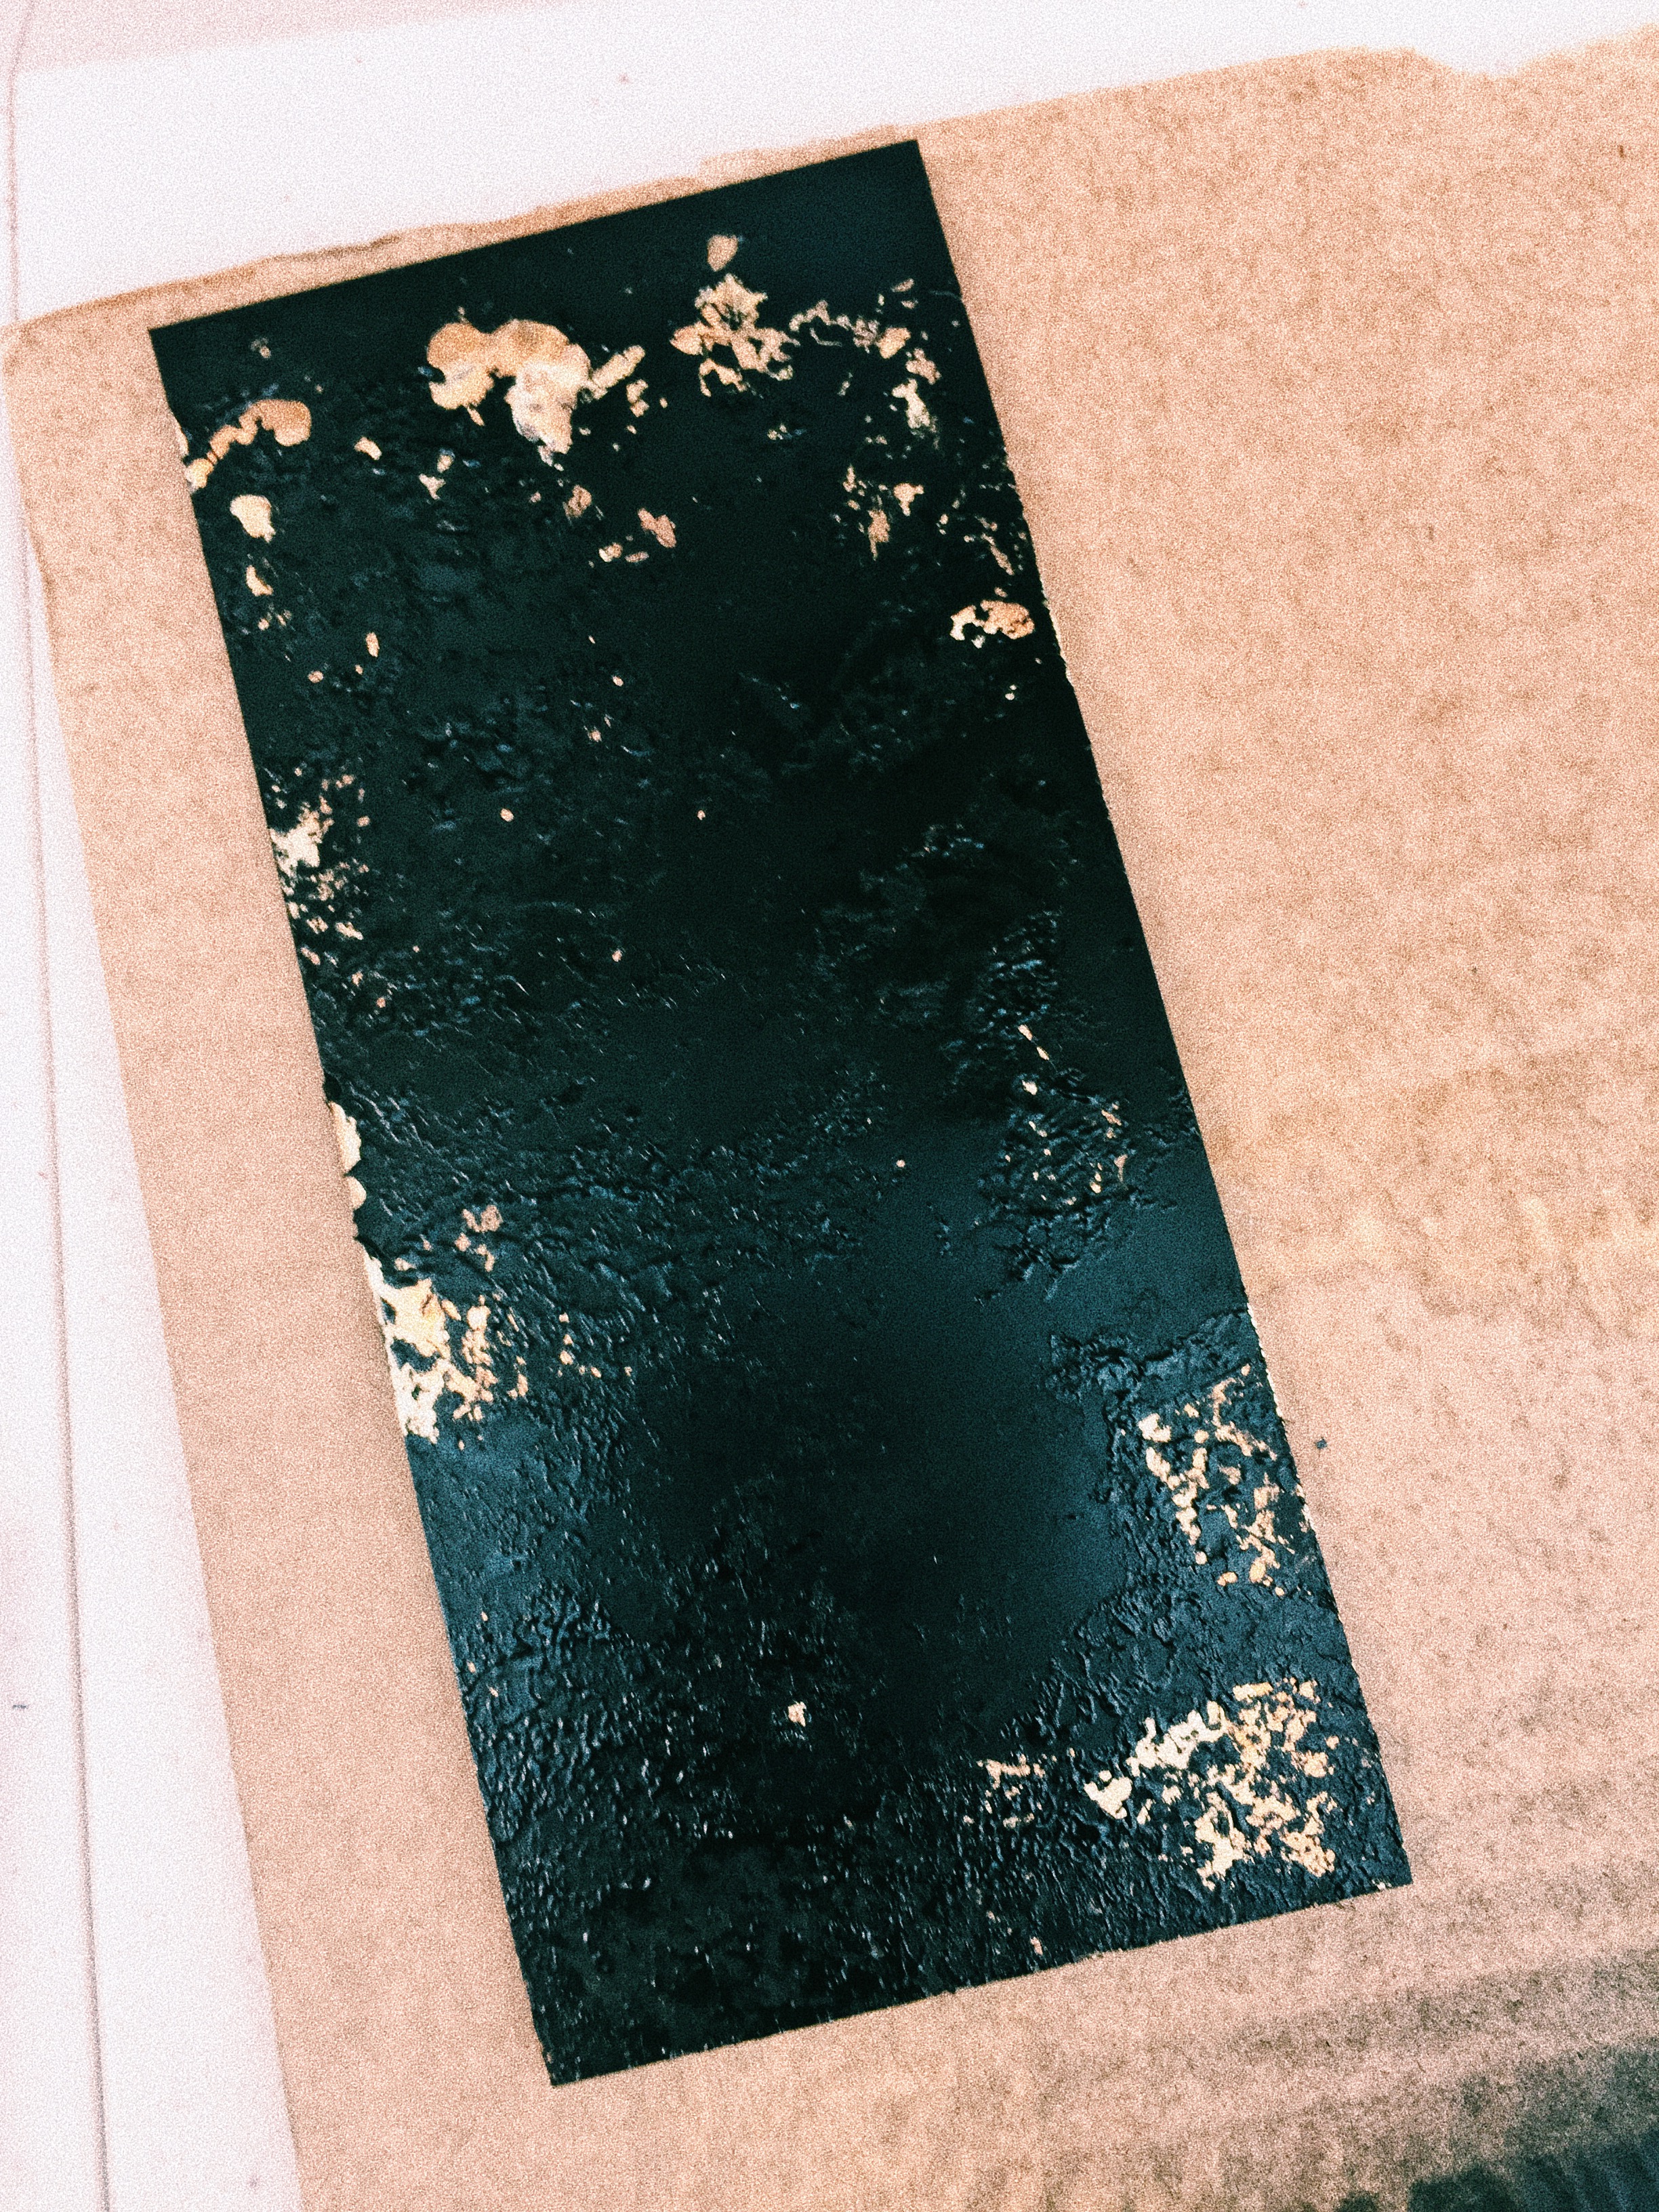
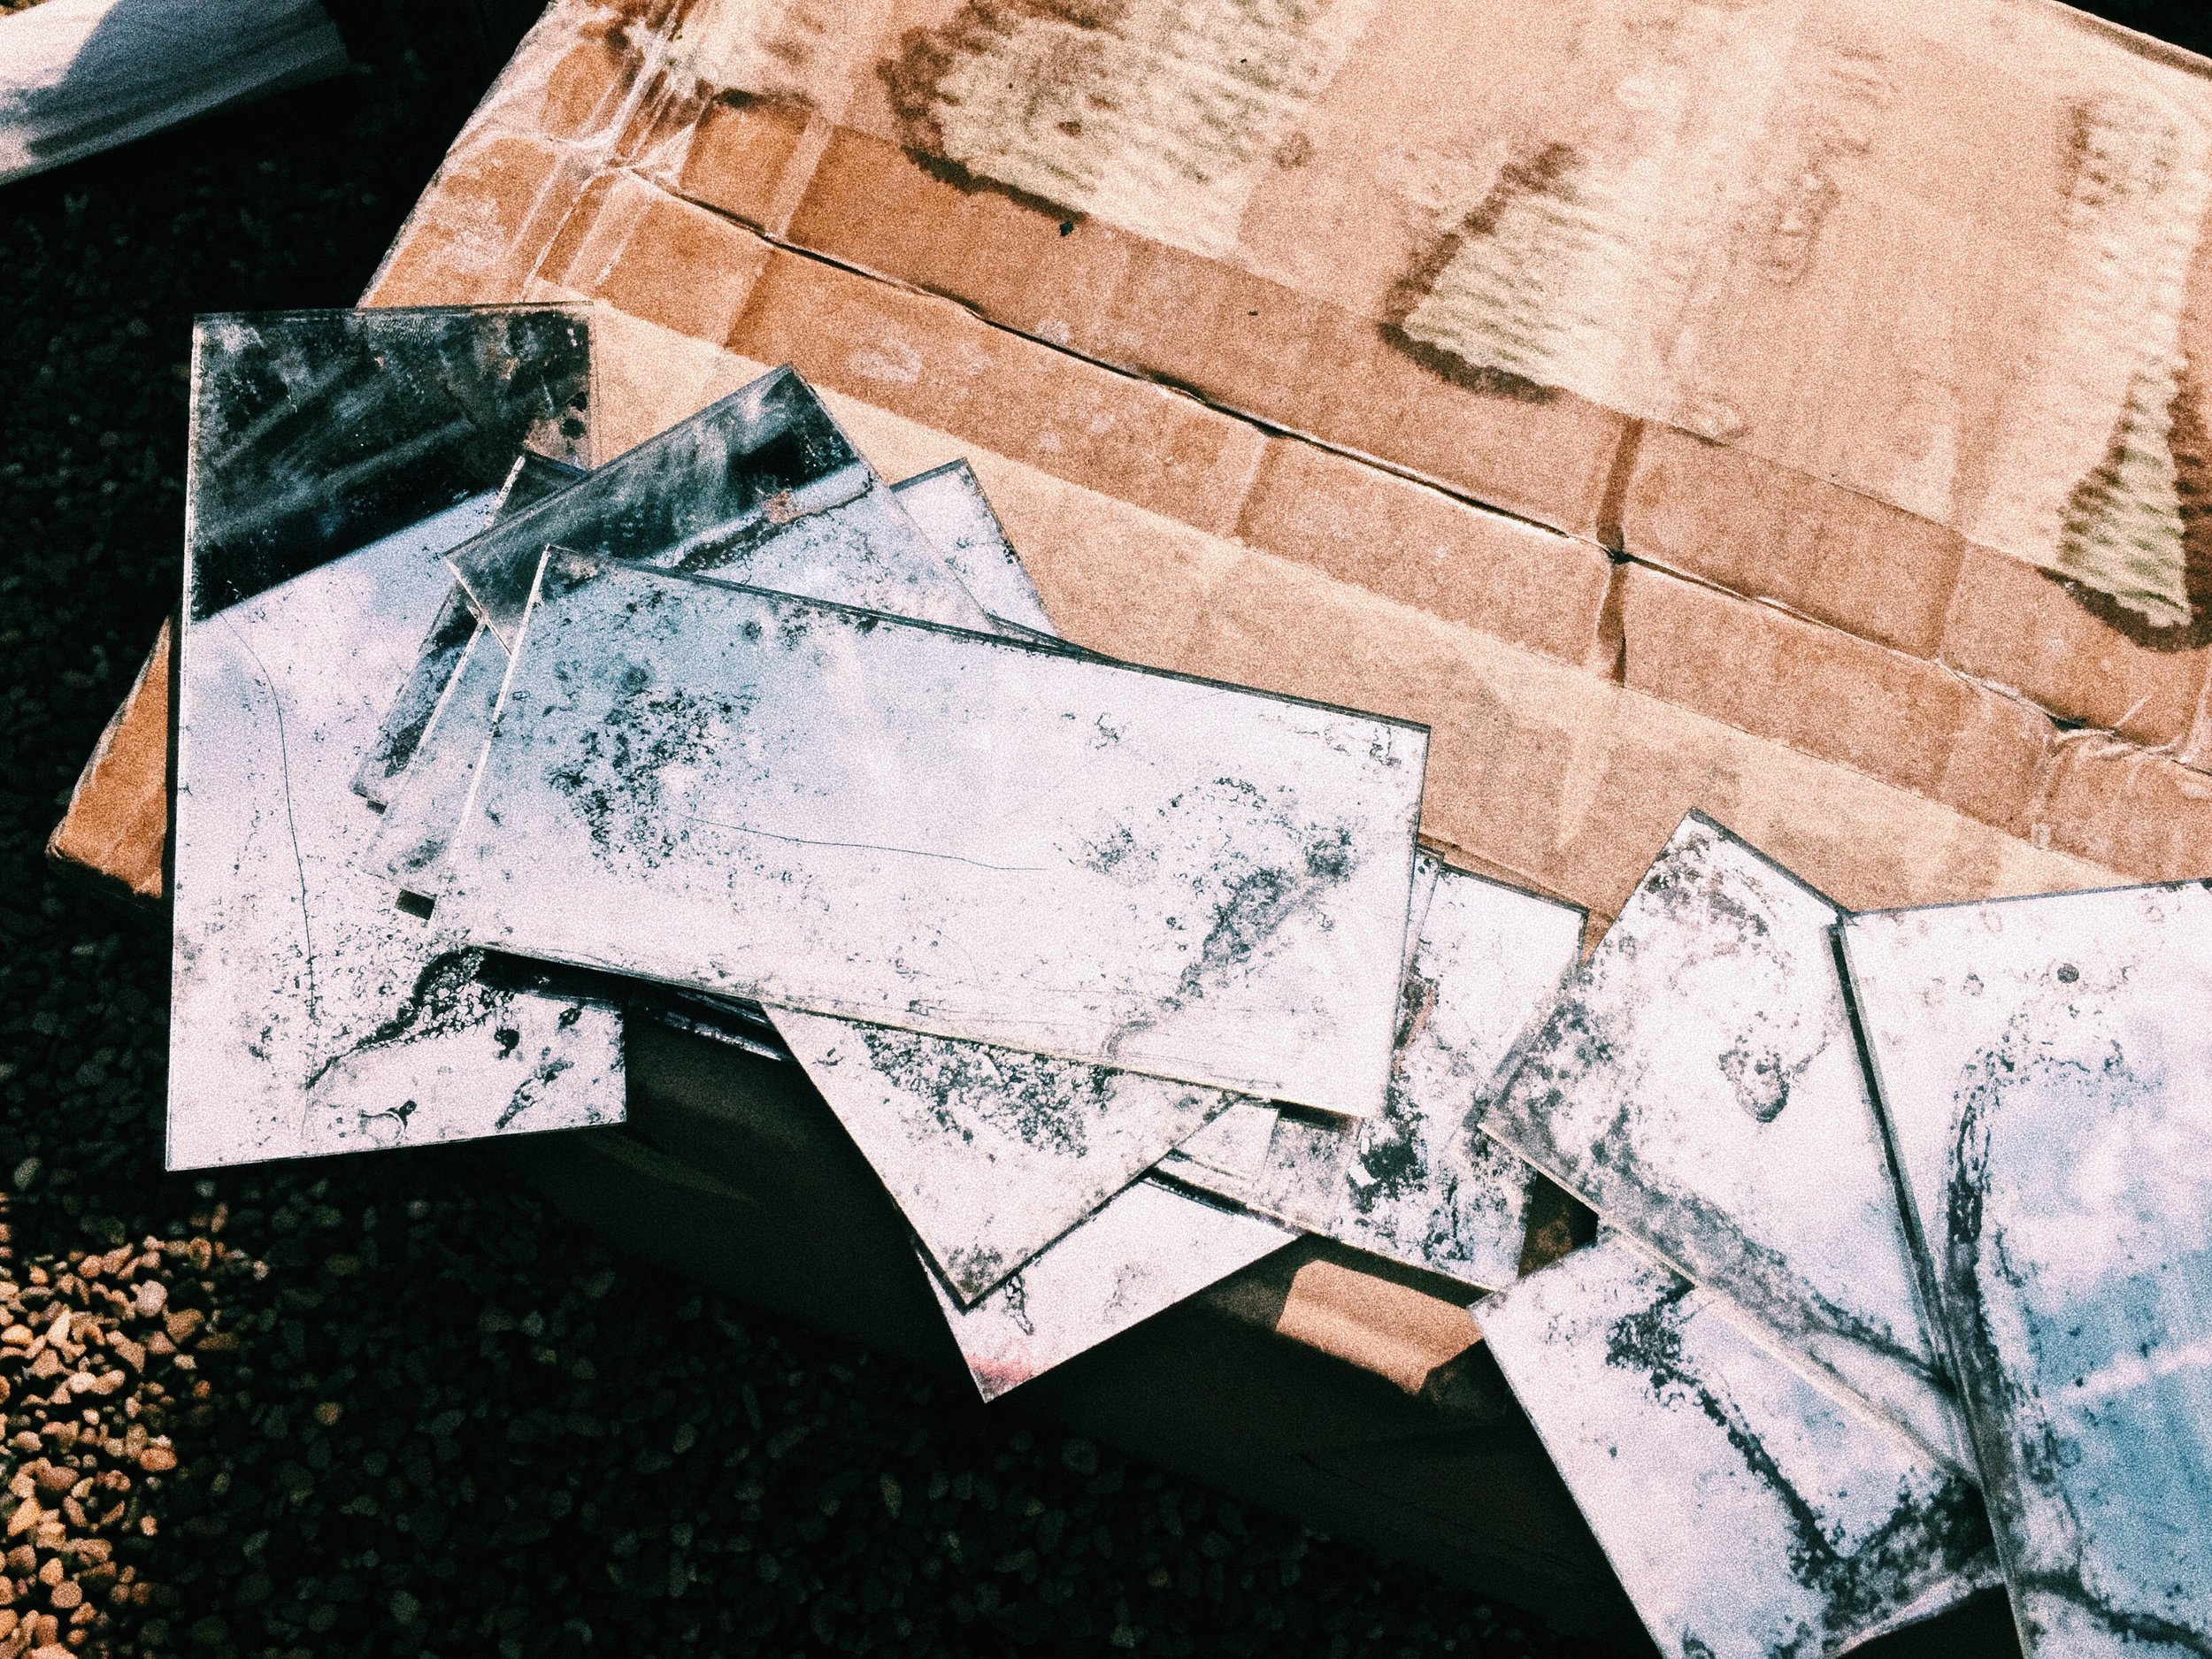
After a while, the bleach will eat at the back layer; getting rid of the mirror in some spots. Control the amount of bleach, where you sprayed it and how long you leave it on for to achieve a more subtle or more dramatic effect. After you’re happy with the effect, wipe the mirrors clean and spray paint them with black spray paint. I decided not to cover the entire mirror and only spray it in certain spots to get a varying texture. Leave to dry. I later attached the bottom mirrors with a glue gun and broke some of the top mirrors with a hammer for decoration. It’s been a few months since the exhibition, and they’re still on there if you’re wondering. Make sure to use paint stripper outdoors or in a well-ventilated area.

RUSTING PROCESS
My favourite part of decorating the Praxinoscope was creating the rust effect. There is a way to rust everything, even plastic; however, I couldn’t get my hands on one of the ingredients in time for the exhibition, and so I did it my way. You can YouTube this rusting process, it’s really easy and looks great! Mine doesn’t look as good. I used water, salt and vinegar mixed in one of the empty spray bottles. Shake it up to mix and spray on the metal parts of the Praxinoscope. The inner cylinder rusted straight away. The outer one; however, did not and so I used acrylic paint applied with paper towels to simulate rust. I alternated between white, raw umber and ochre yellow. After I was happy with the effect, I sprayed everything with crystal clear to seal it. I suggest using crystal clear outdoors or in a well-ventilated area.
THE BOX AND INSERT CARD
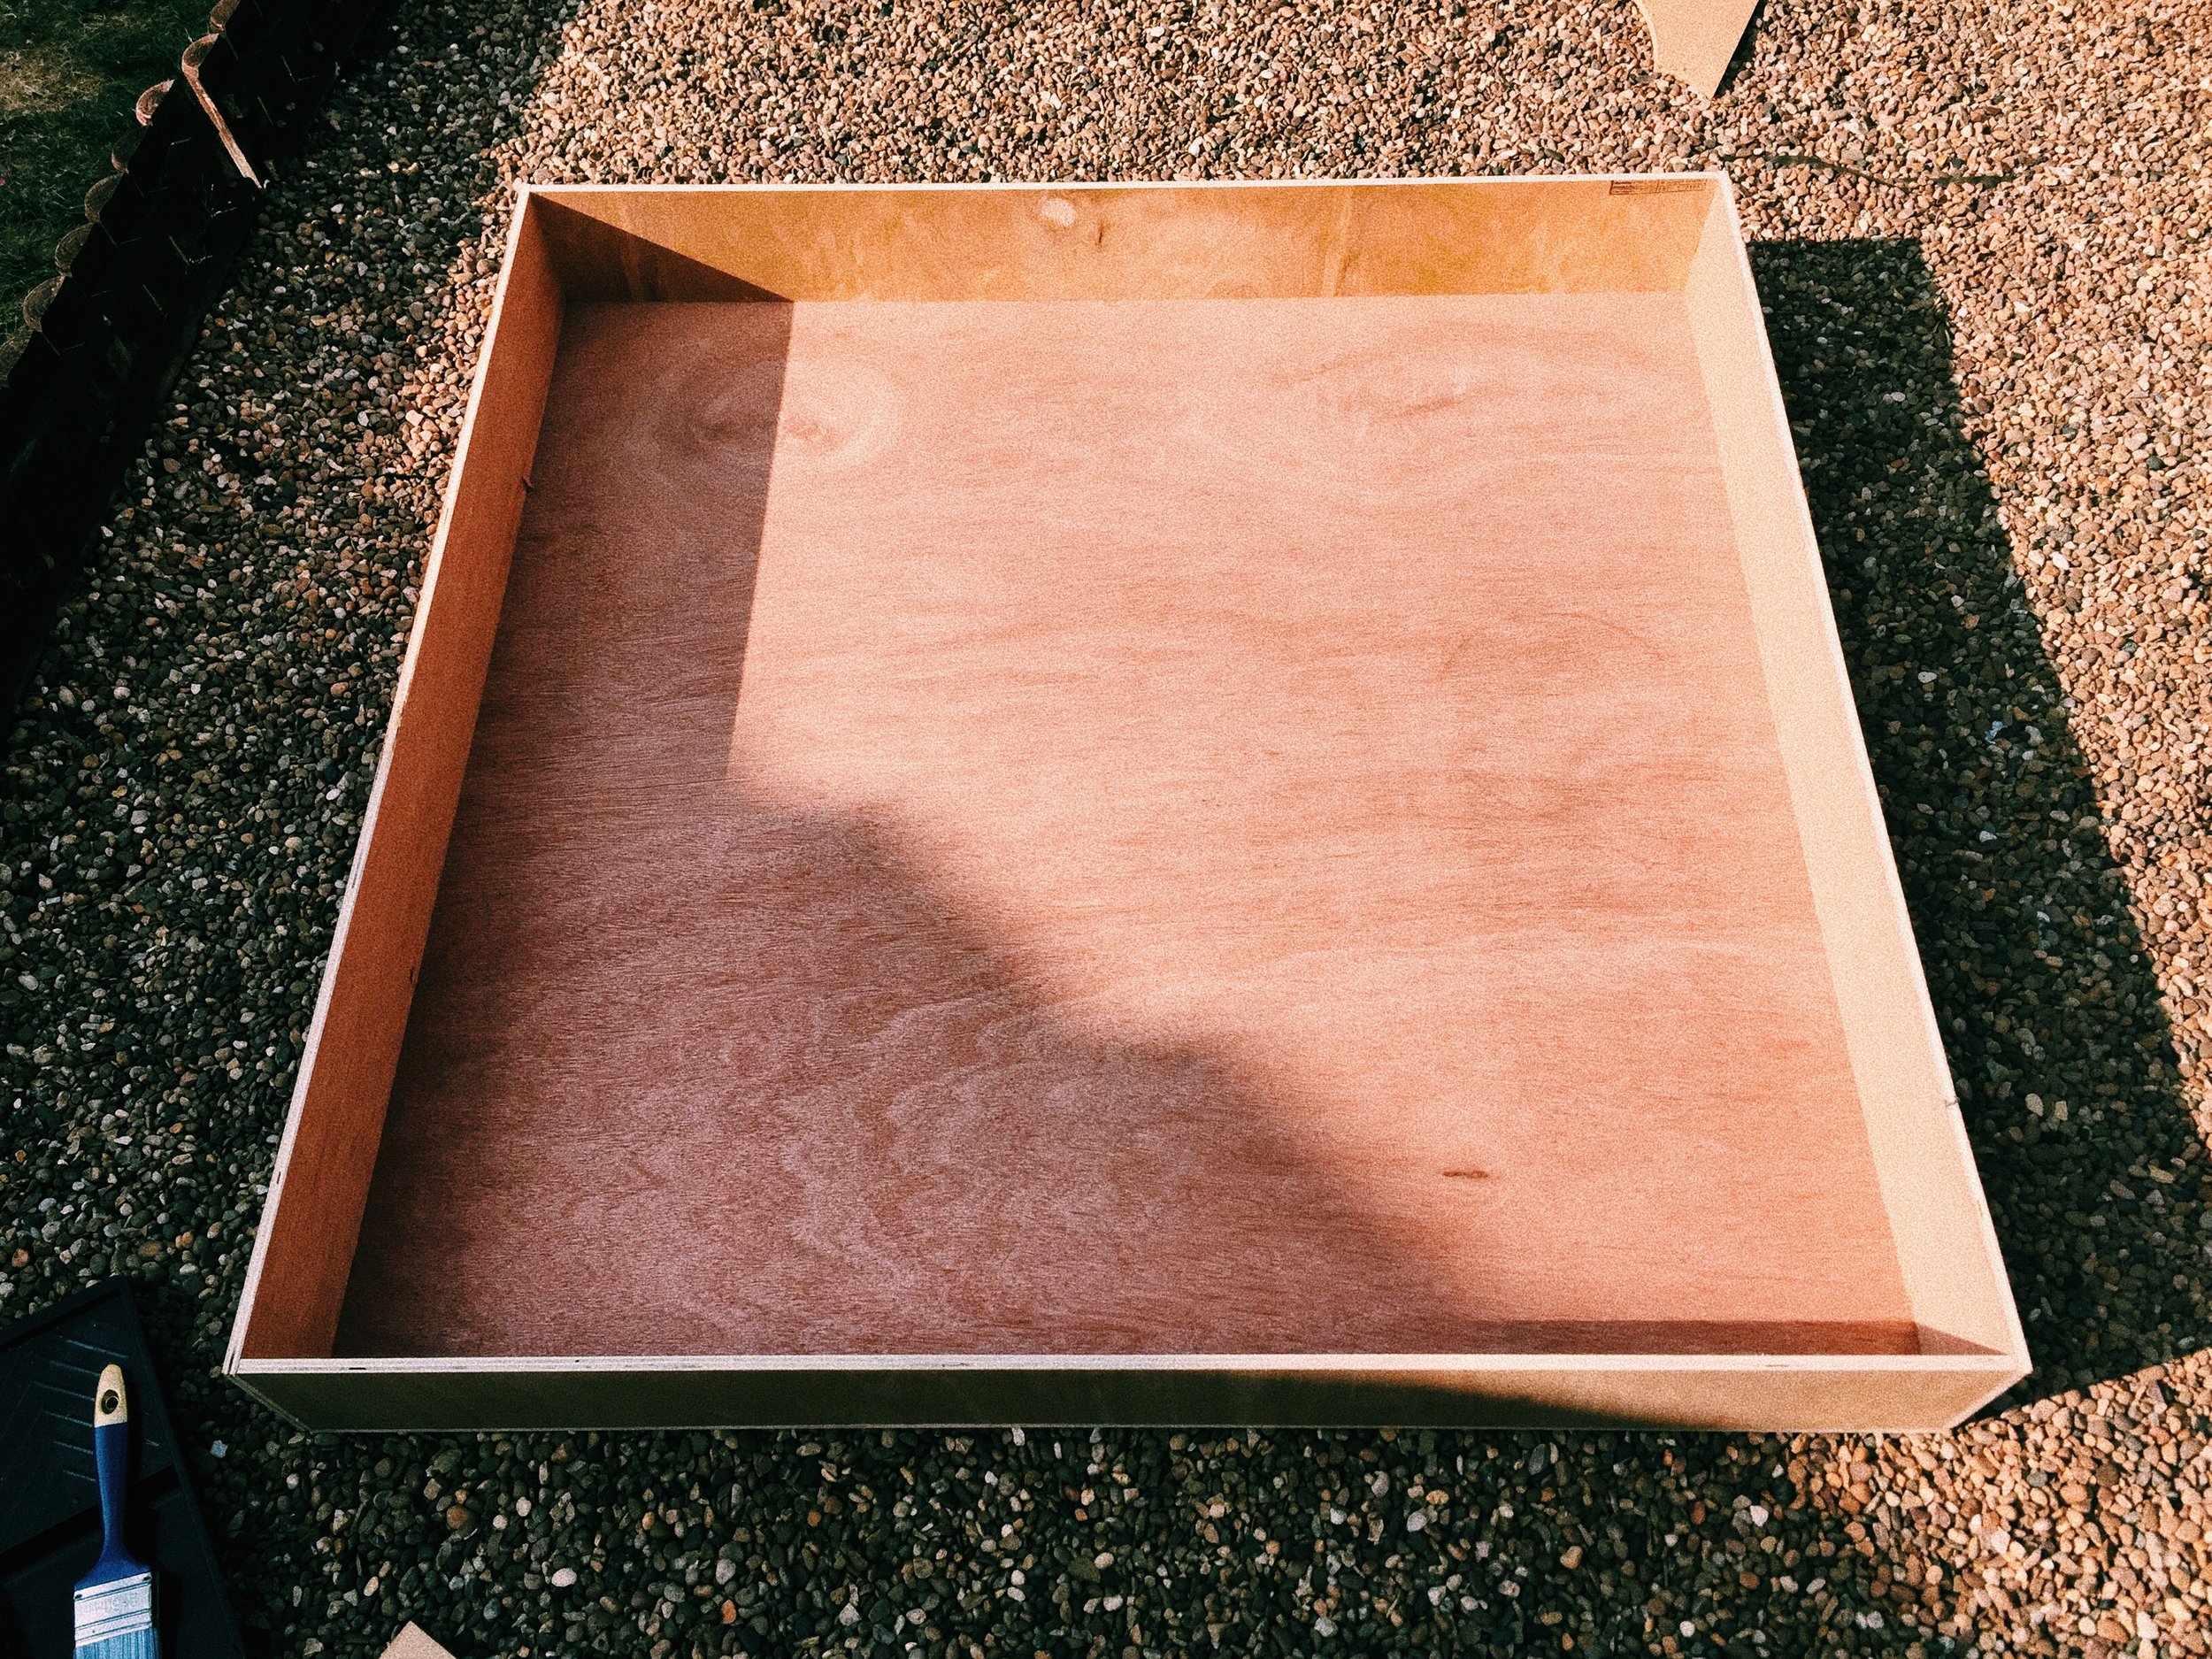
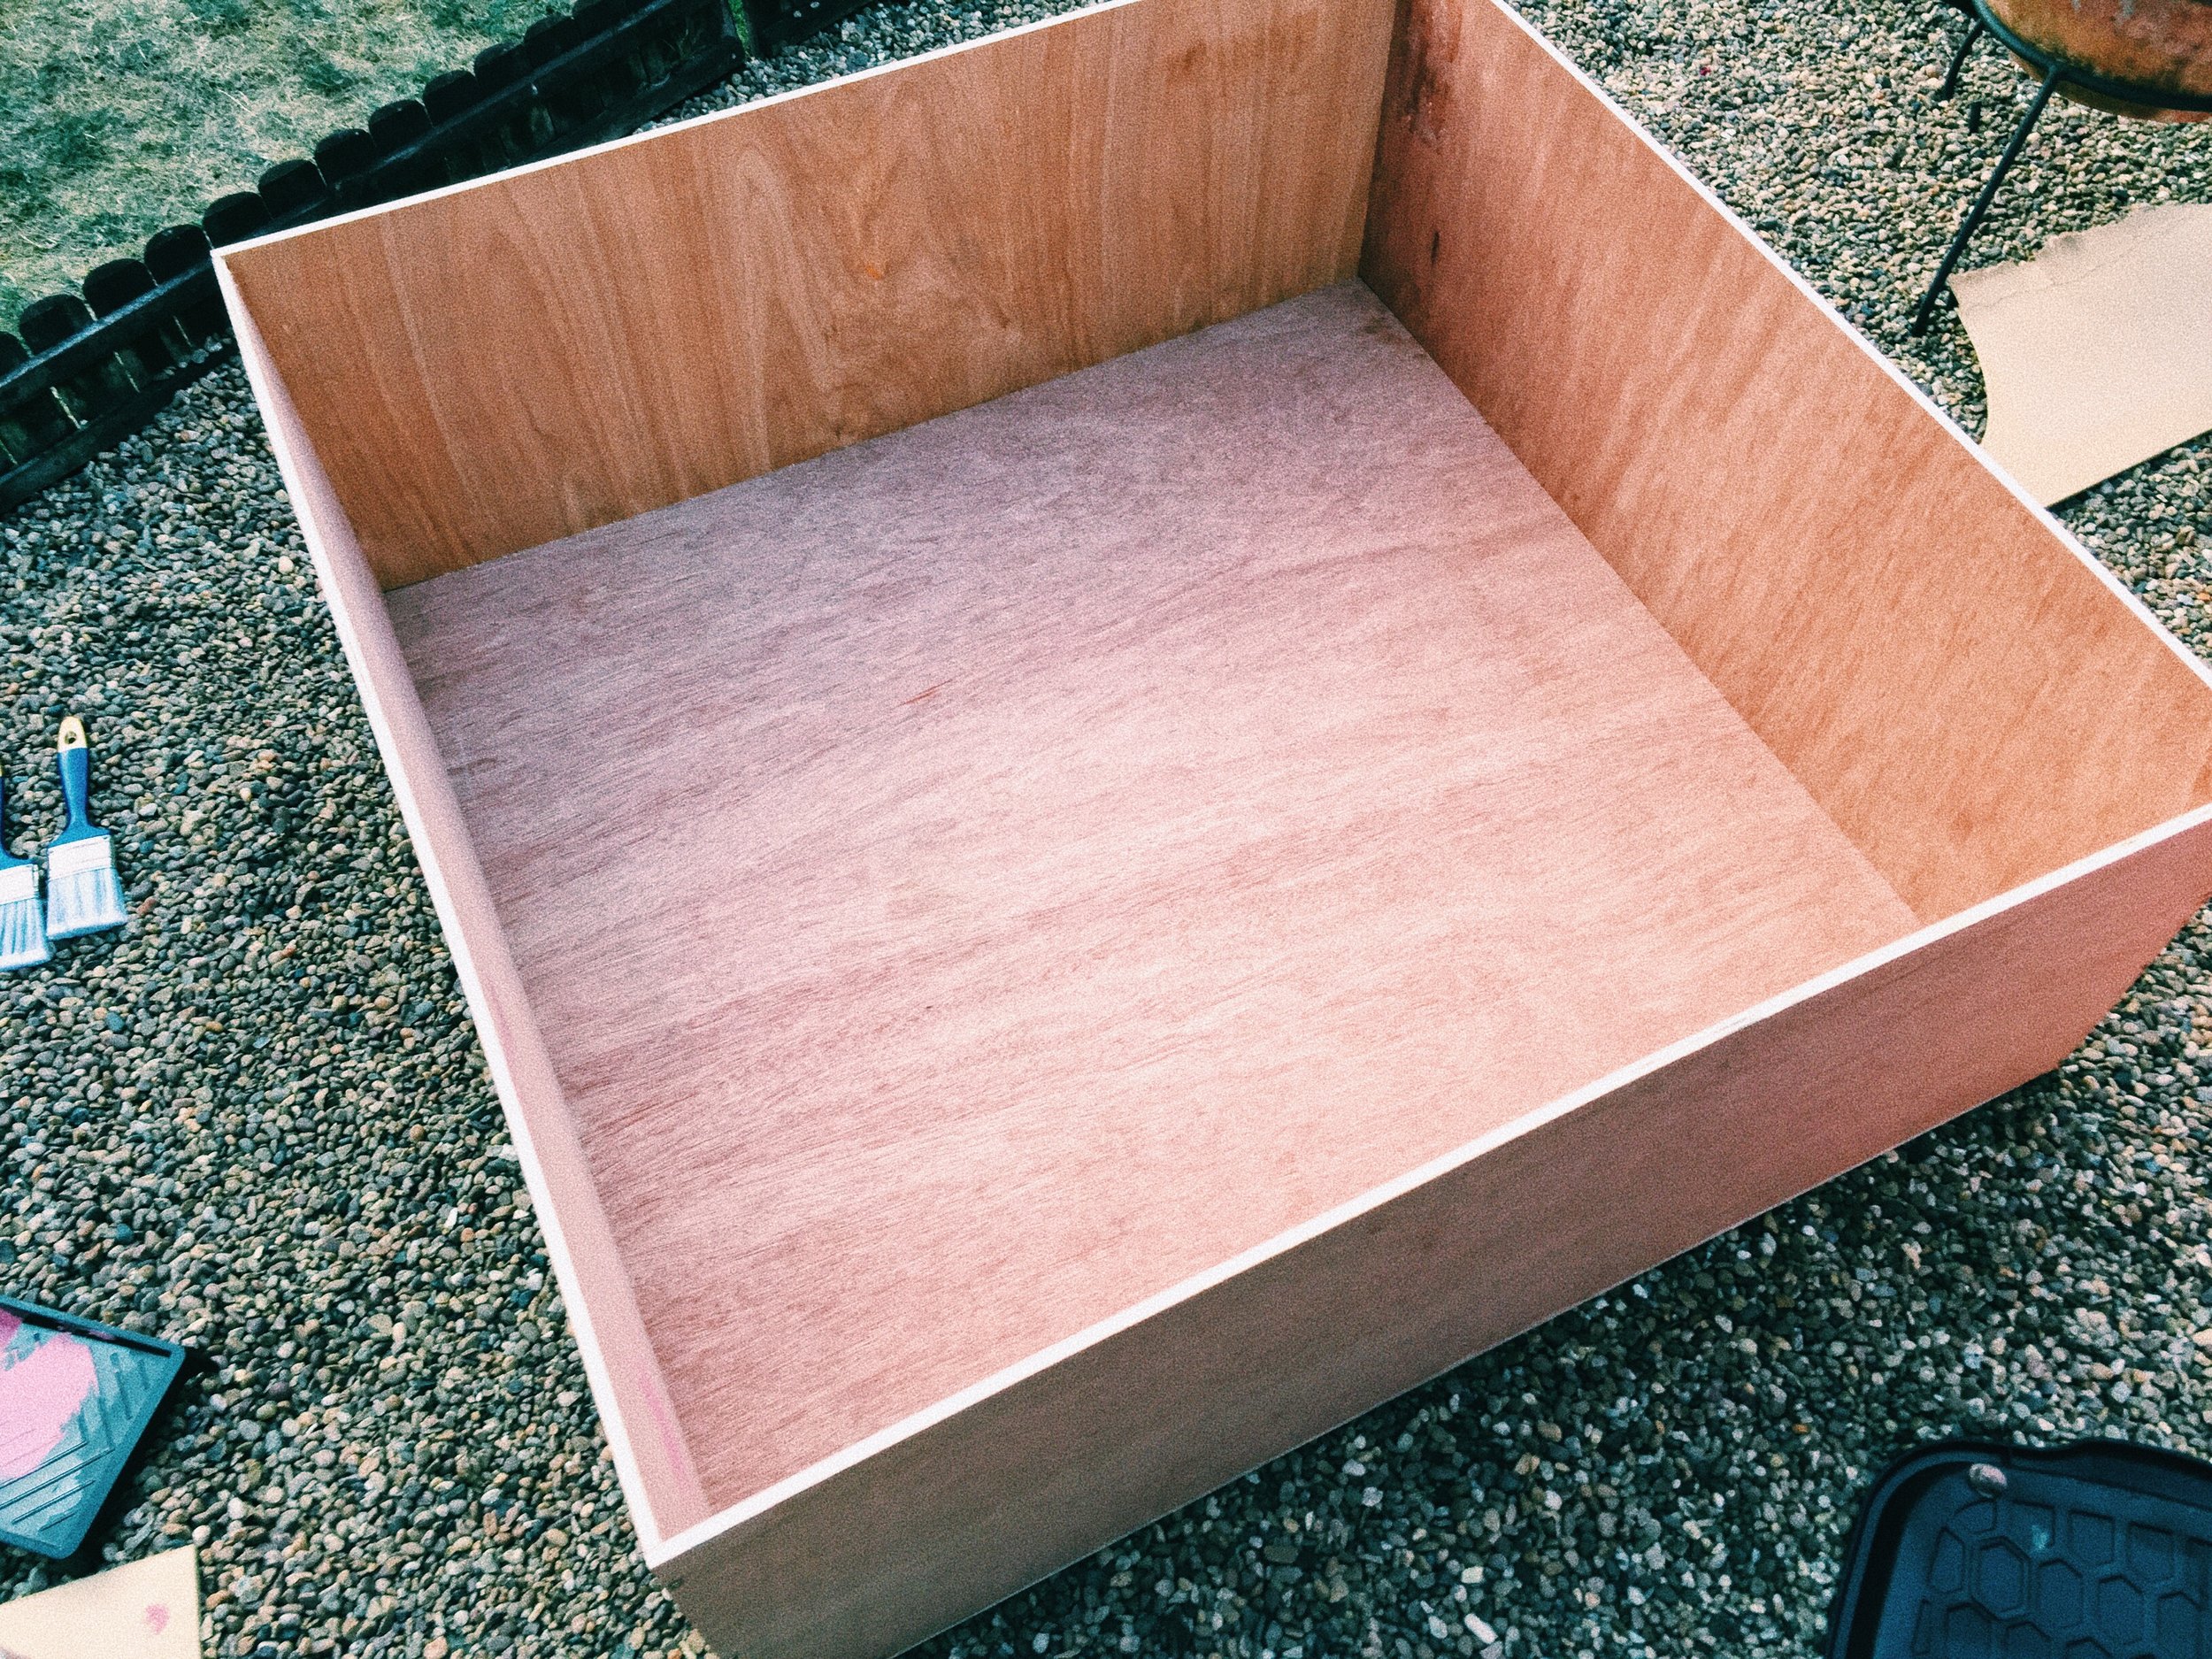
If you’re making your own box, like me, then you’ll need to buy more sheets of wood. My box was 90 cm by 90 cm. We asked a lovely man working at B&Q to help us cut the wood to the correct size. All that was left to do was to hammer and nail the sides to make the box. The box was as high as the inside of the Praxinoscope minus the light source. I wanted to mimic the original toy, which was easily put together with all of the parts fitting into one box. The insides of the Praxinoscope Theatre were approx. 60 cm tall; the box was built a bit taller.
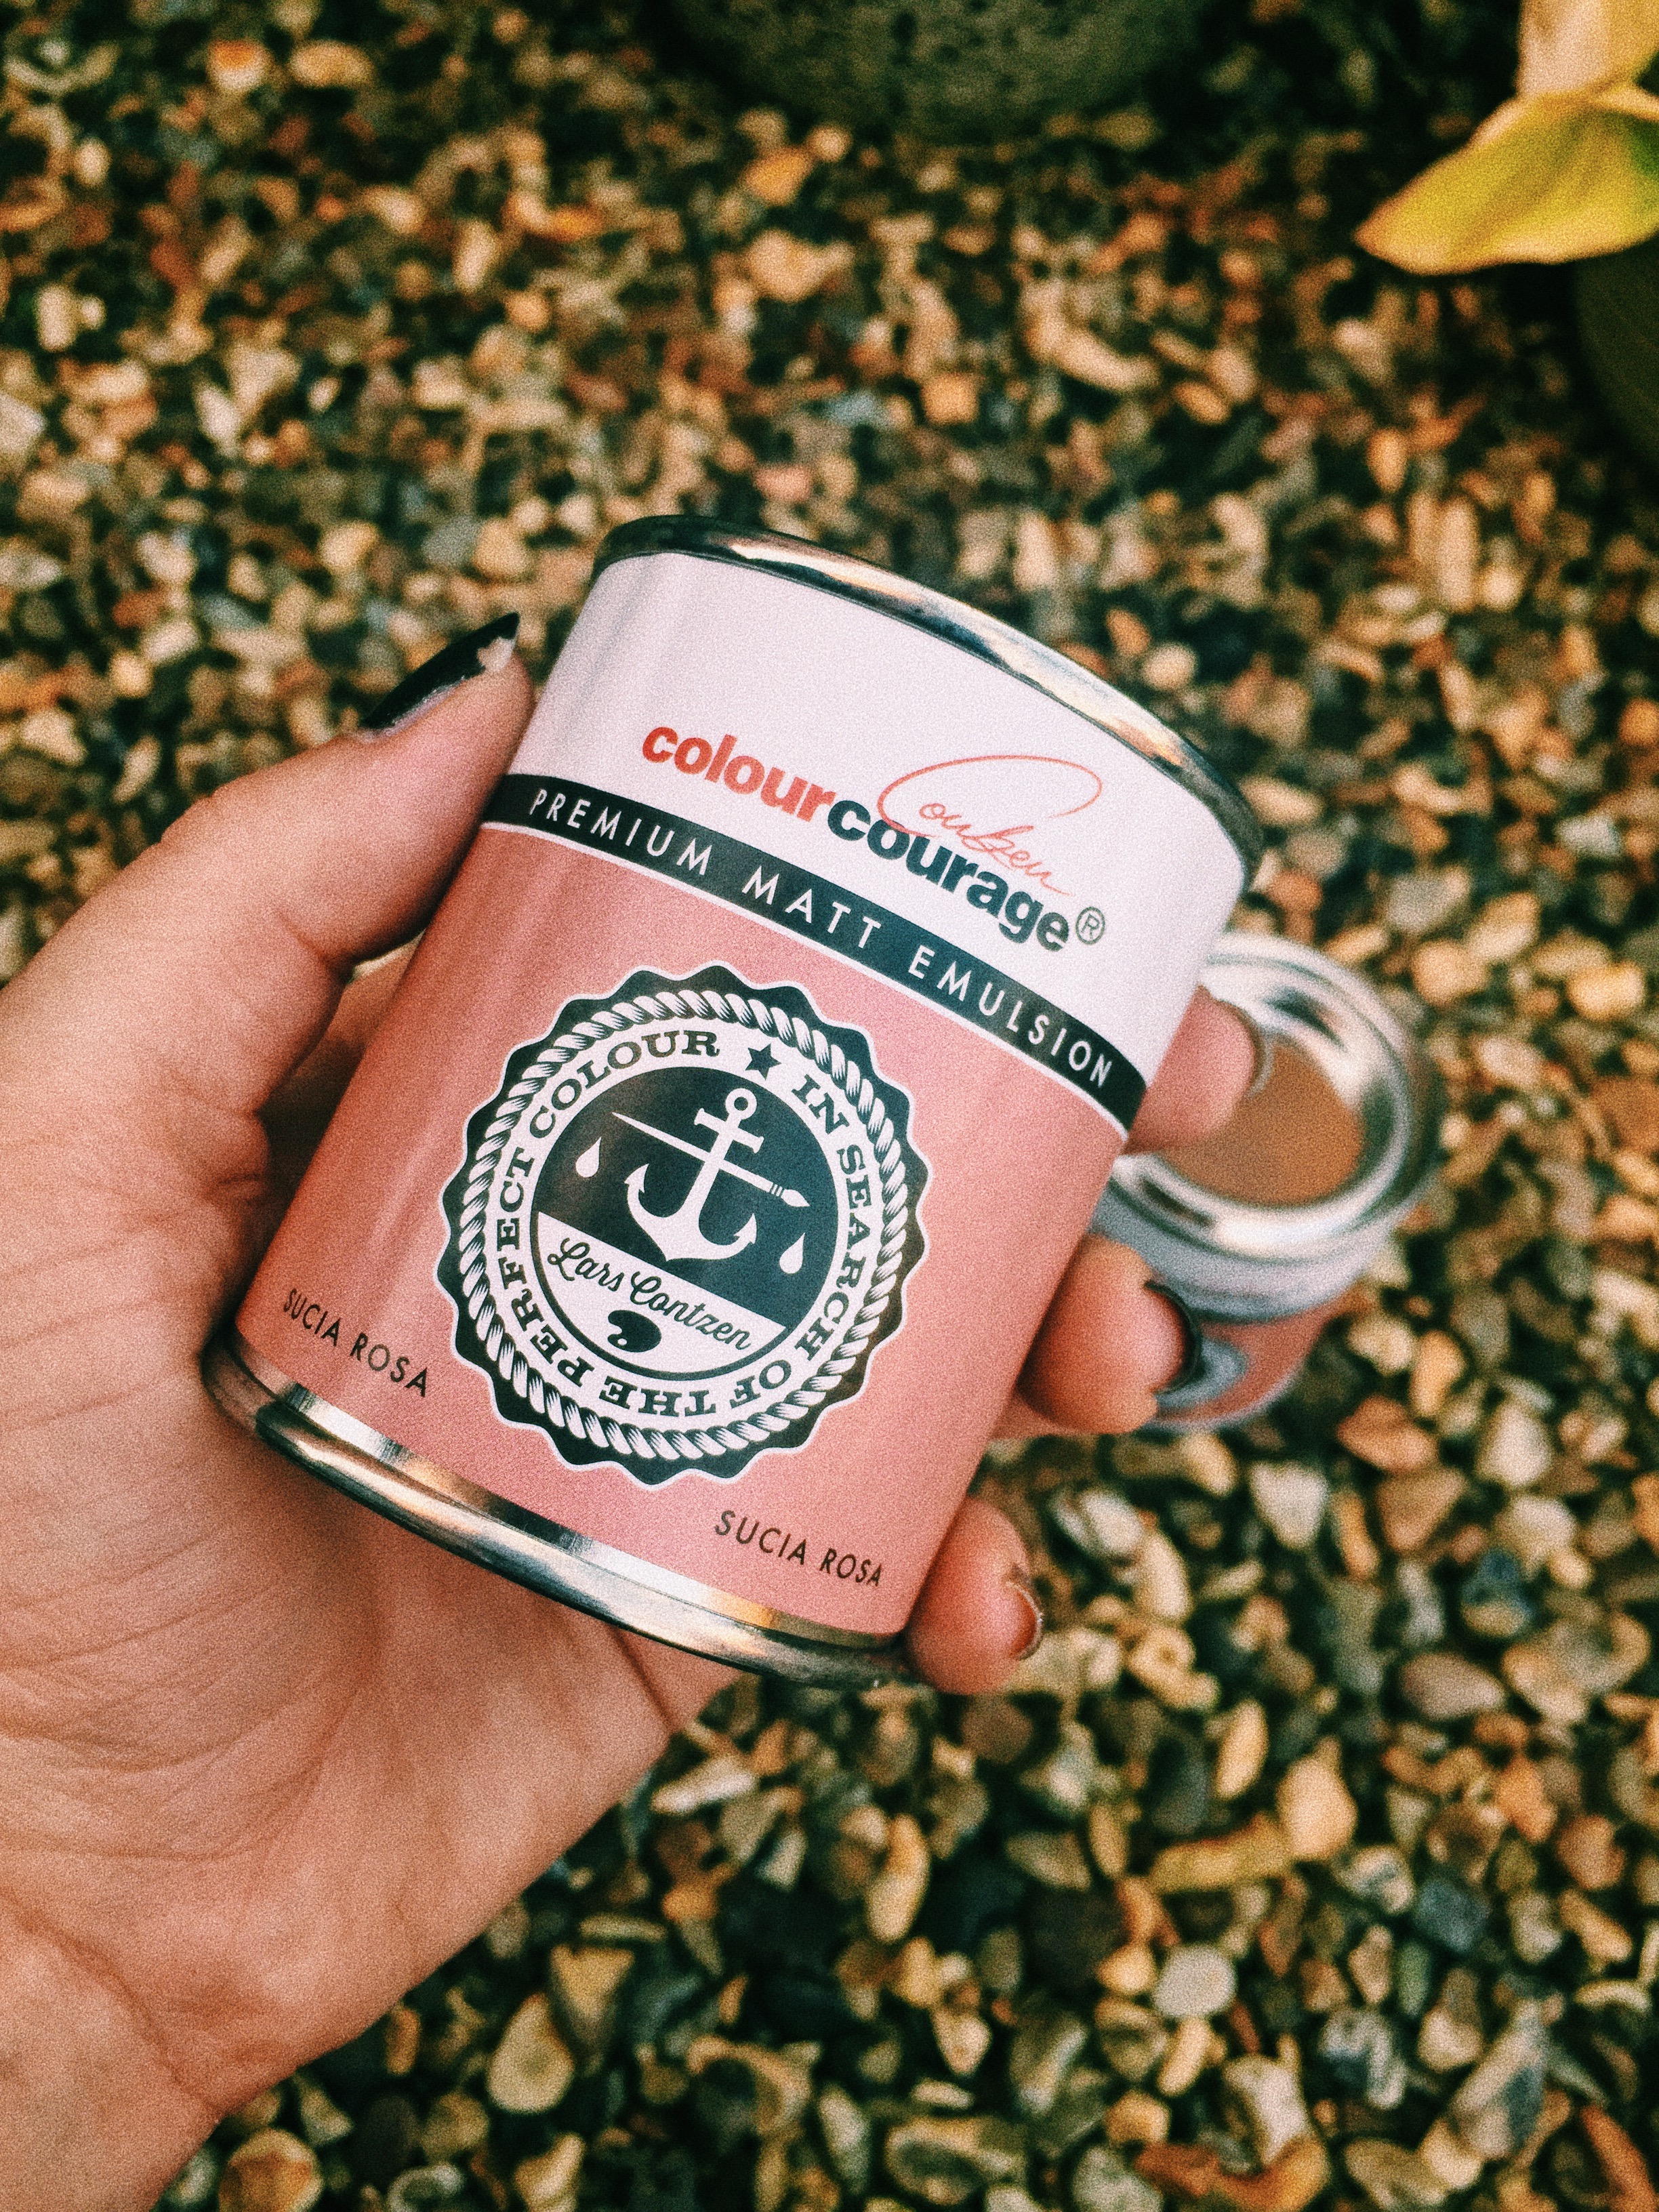
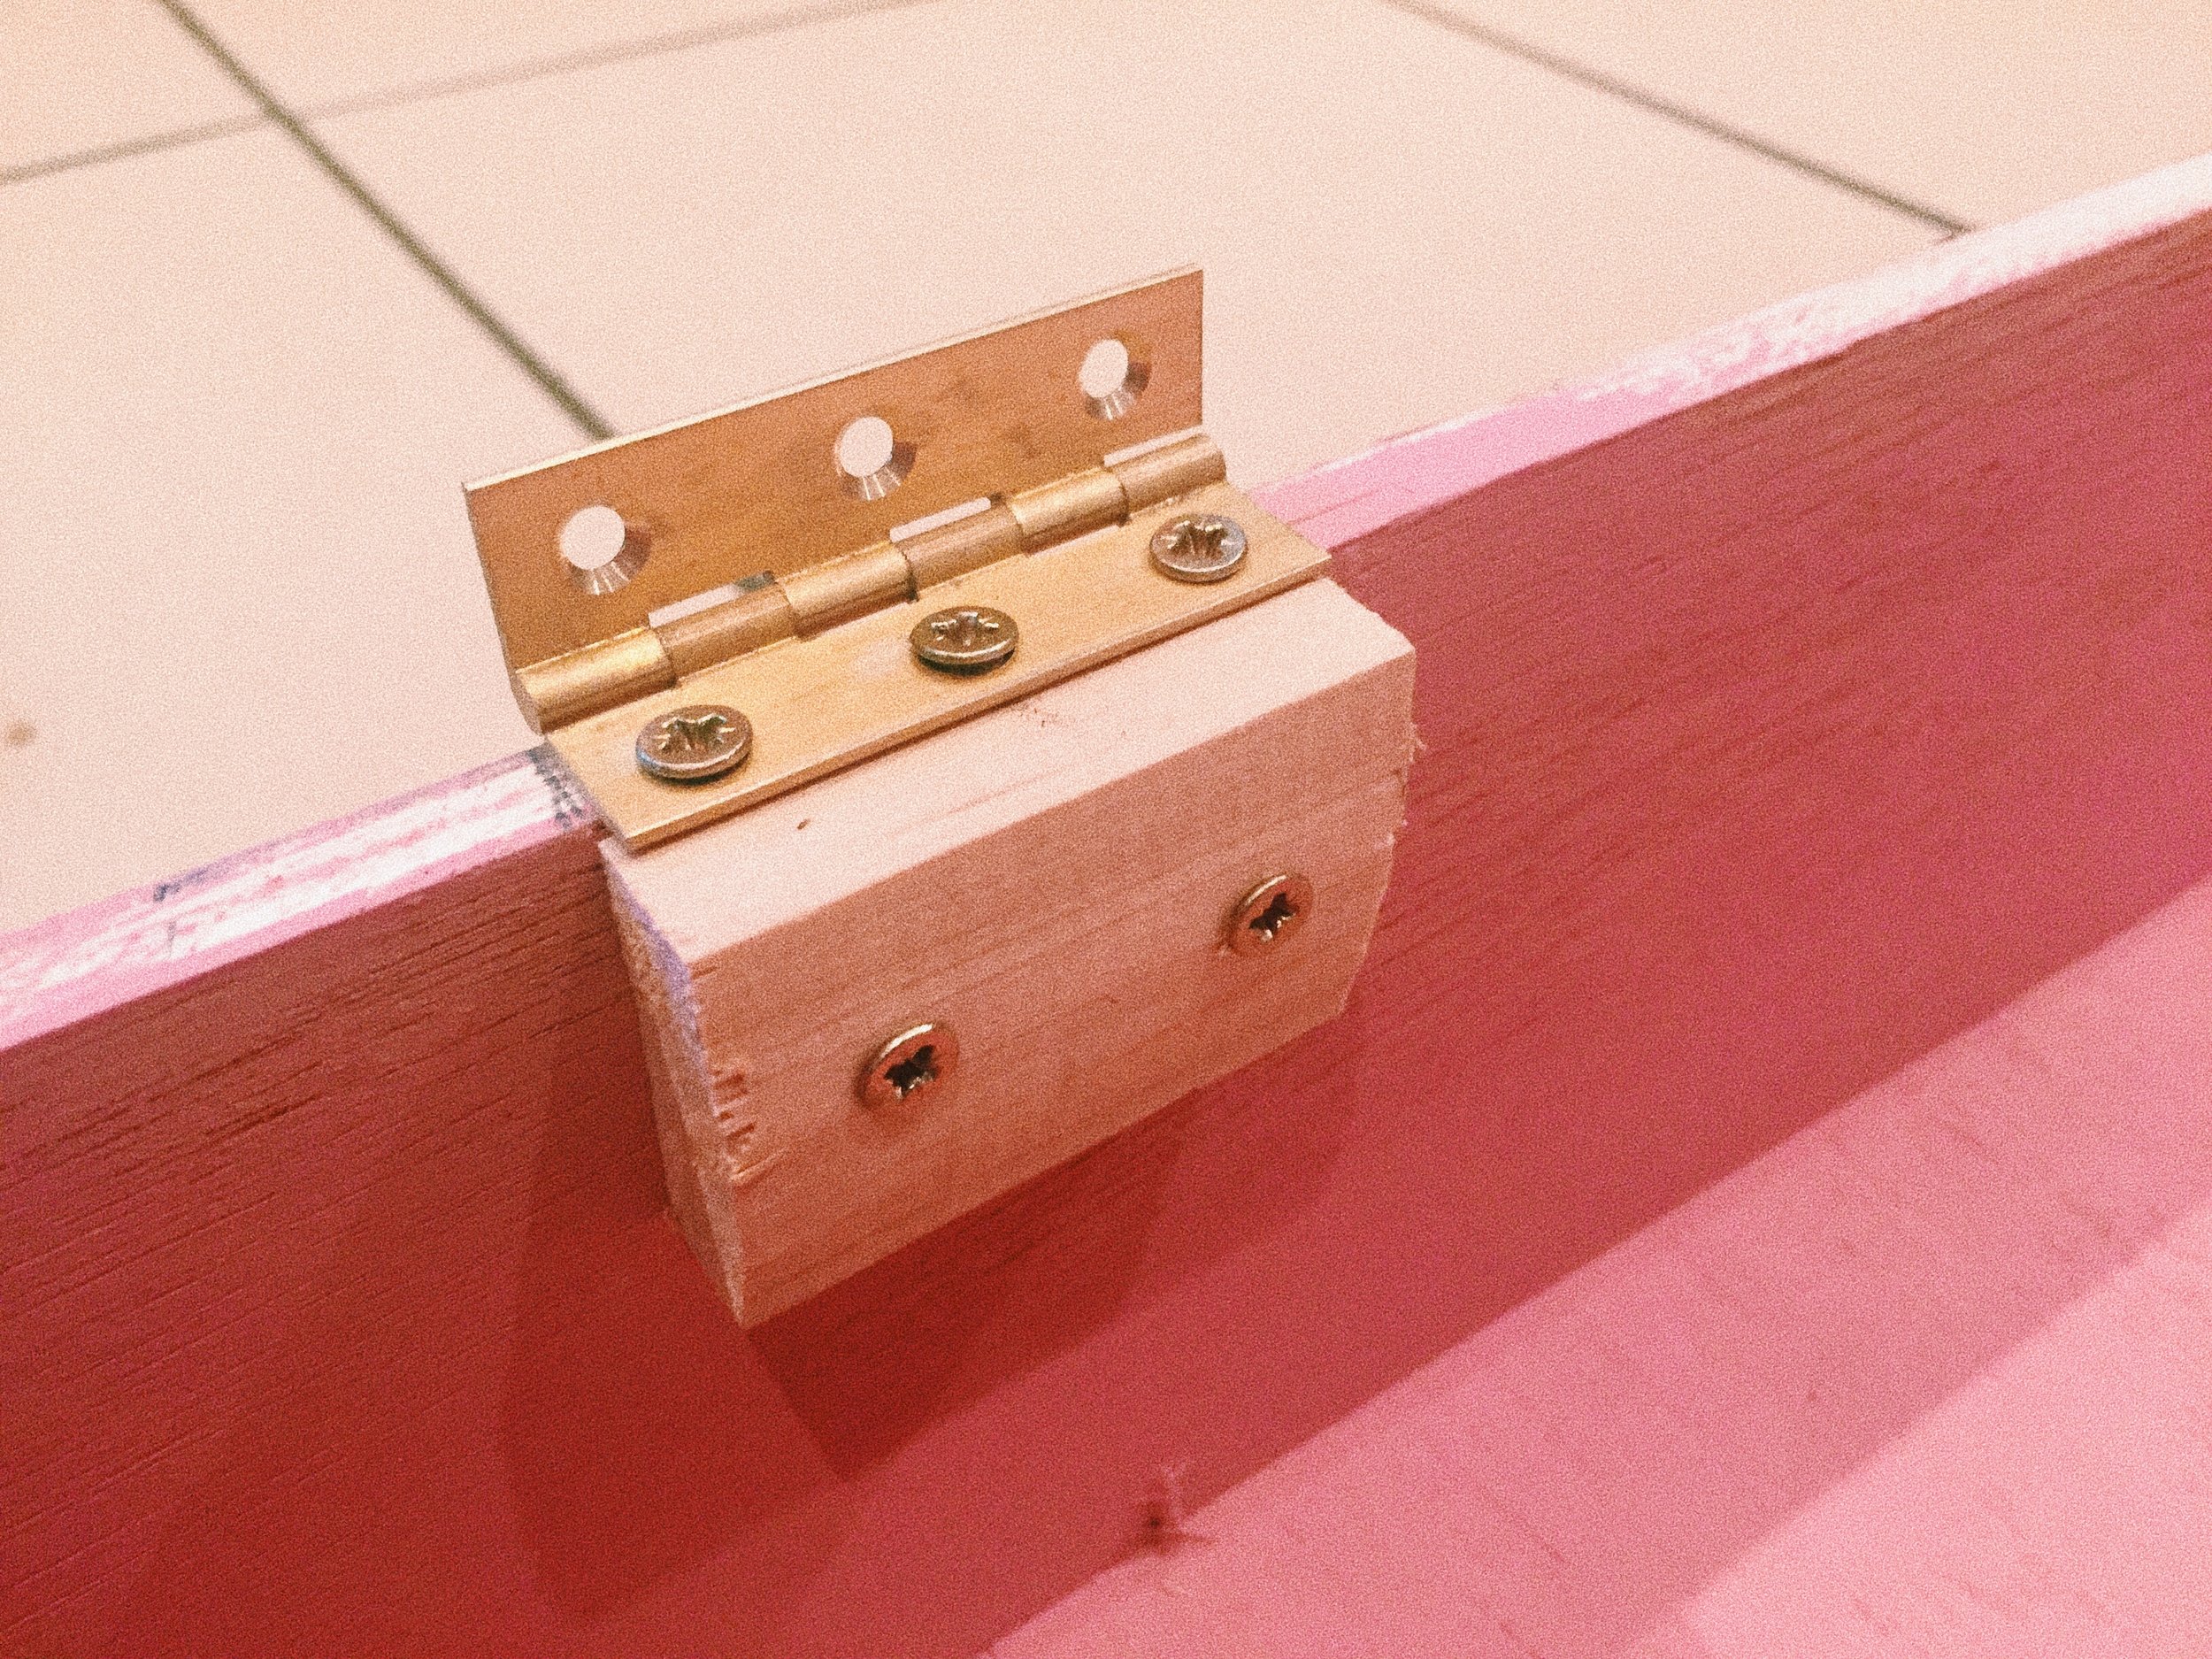
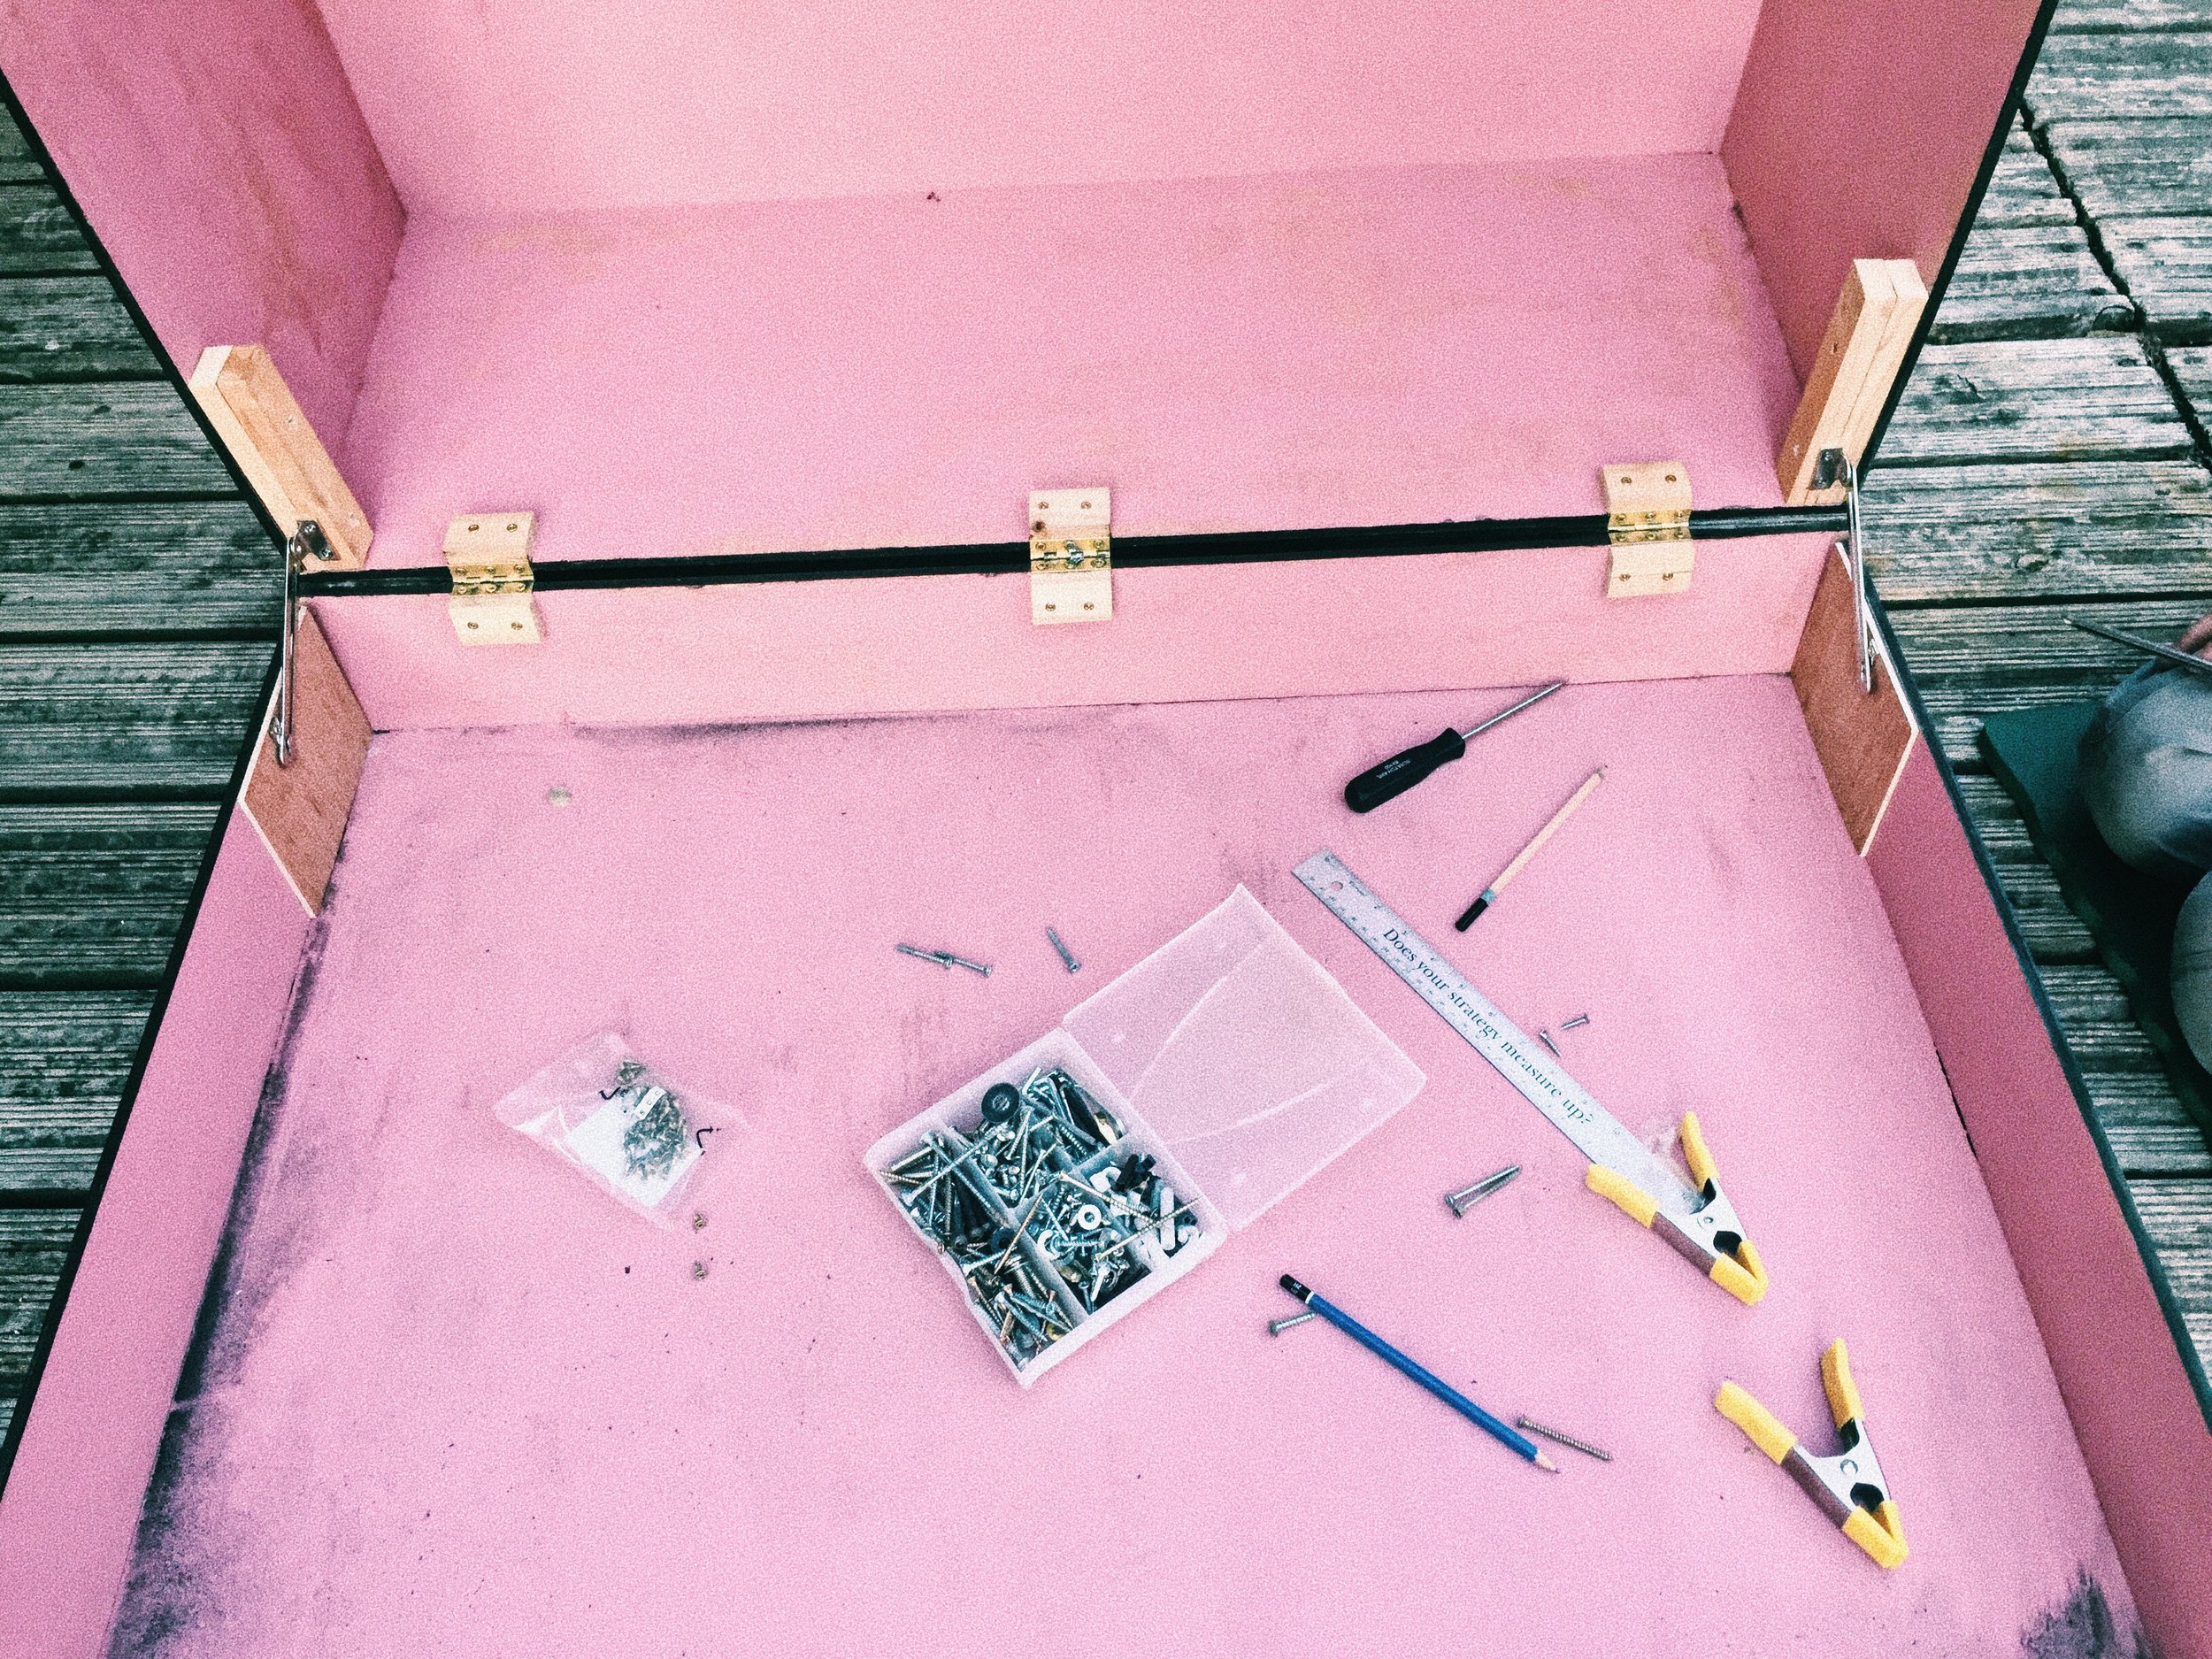
Before putting the hinges on, I painted the insides of both boxes a pale pink colour. We used three hinges because of the size of the box. We also tried using stays, but they weren’t strong enough to hold up the lid of the box. In the end, we took them off and used bricks we had lying around in our garden (we recently moved) to support the lid. After the box was made I painted all of the small details I managed to miss before such as the edges of the box.
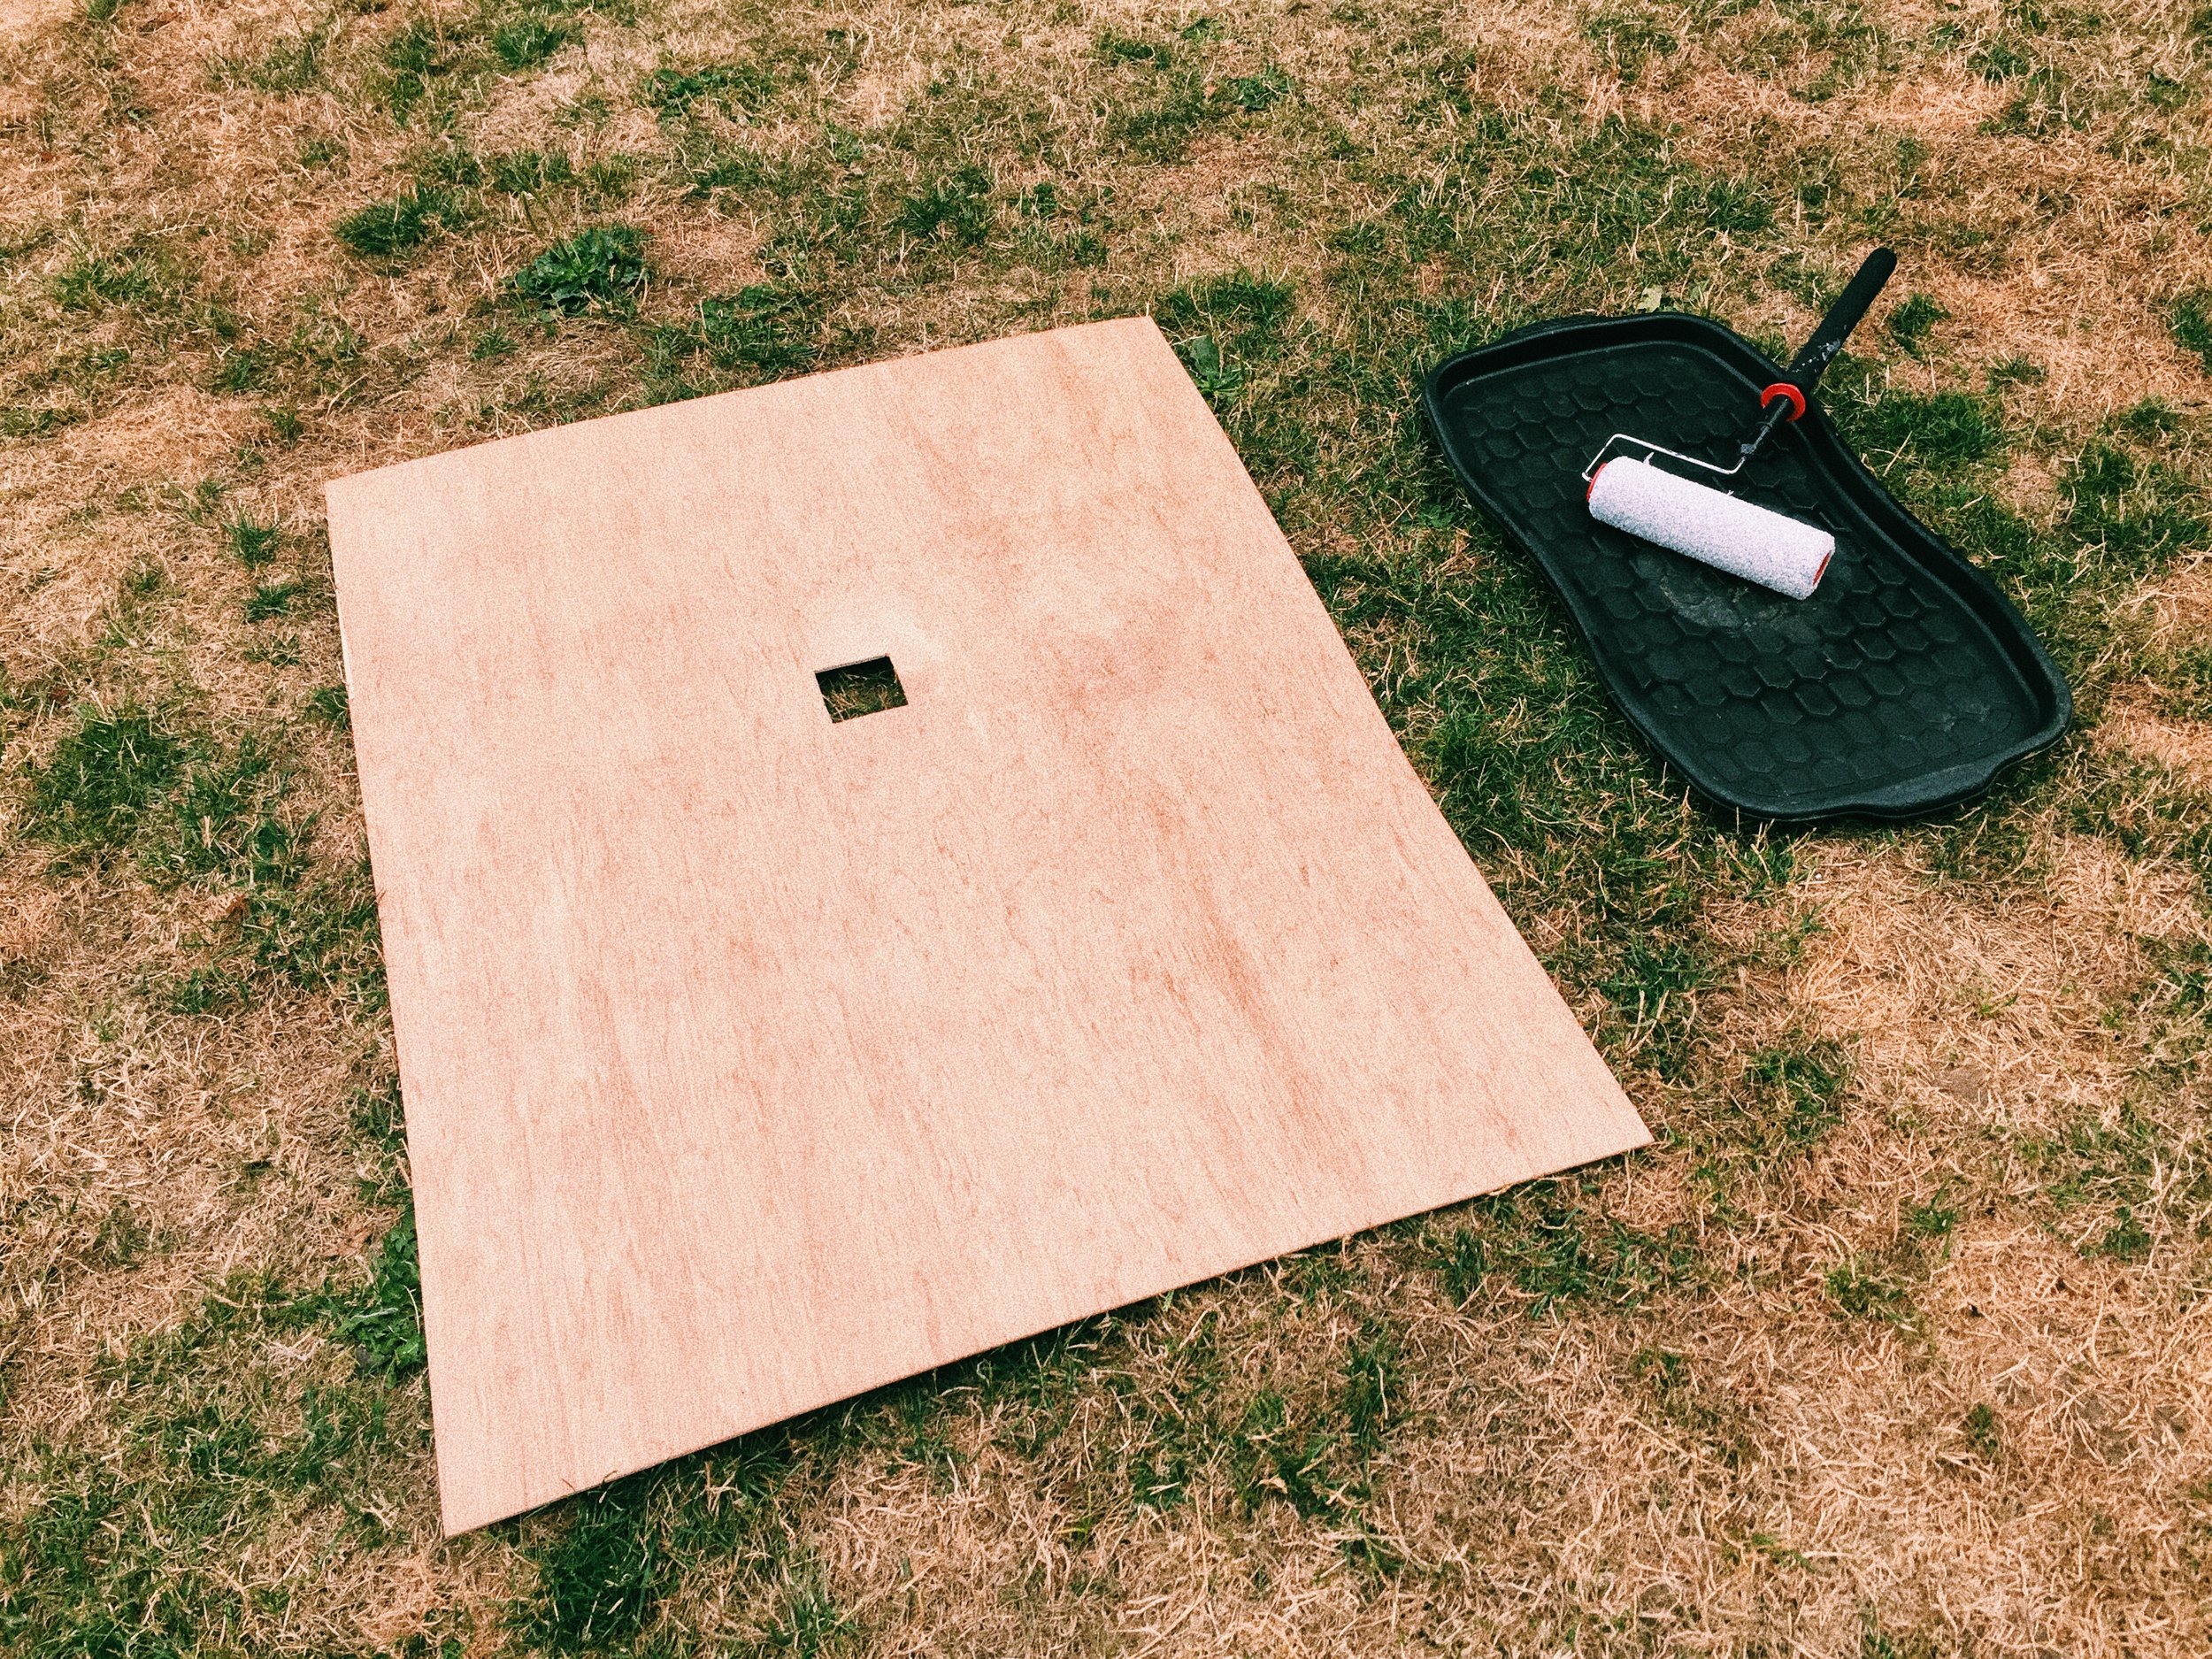
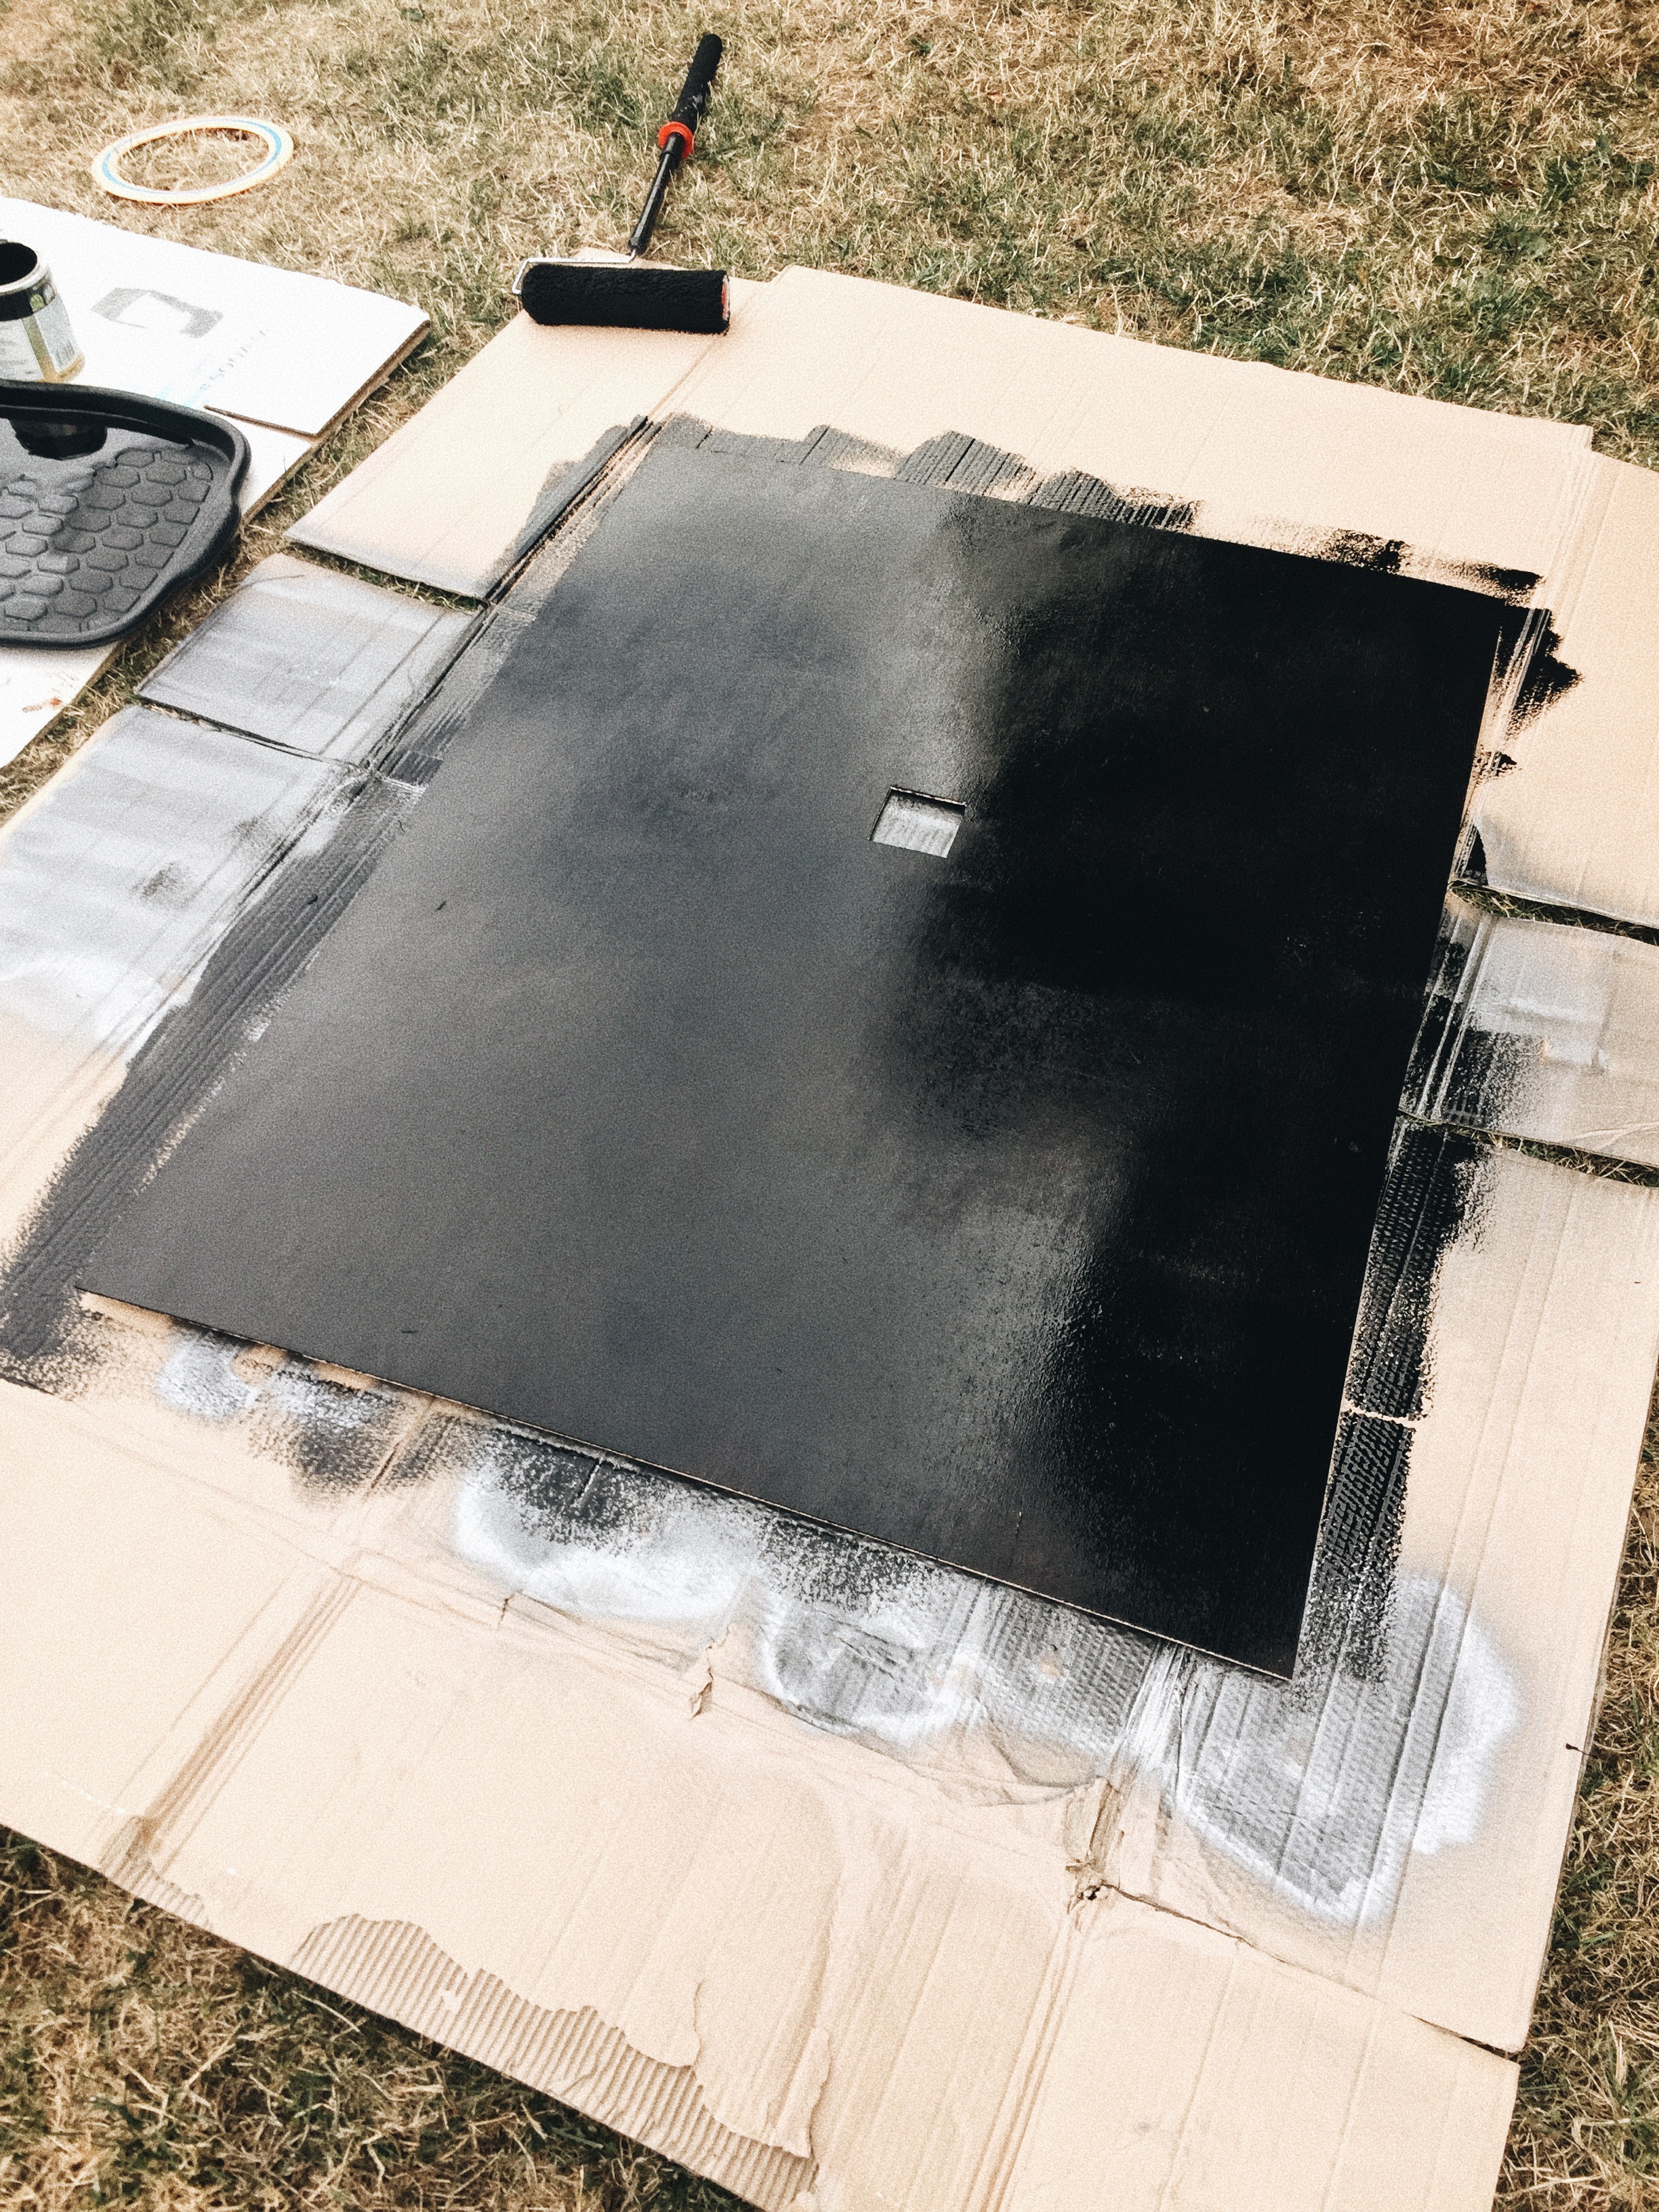
For the insert card, I used another sheet of wood and painted it black ready to be sandpapered down to look old. The hole in the insert card was a lot smaller than the viewing hole. Don’t worry if you mess up the placement of it because you can adjust where the insert card goes as well as the angle of it. Make sure it’s roughly at a similar height of the viewing hole. I decided that it should be a small square because that’s what I’ve seen in the majority of pictures and videos of a Praxinoscope Theatre. Like I said before, there’s not a lot out there to help one build it. The viewing hole was cut out to be the same width as one of the mirrors and as tall as one of the images.
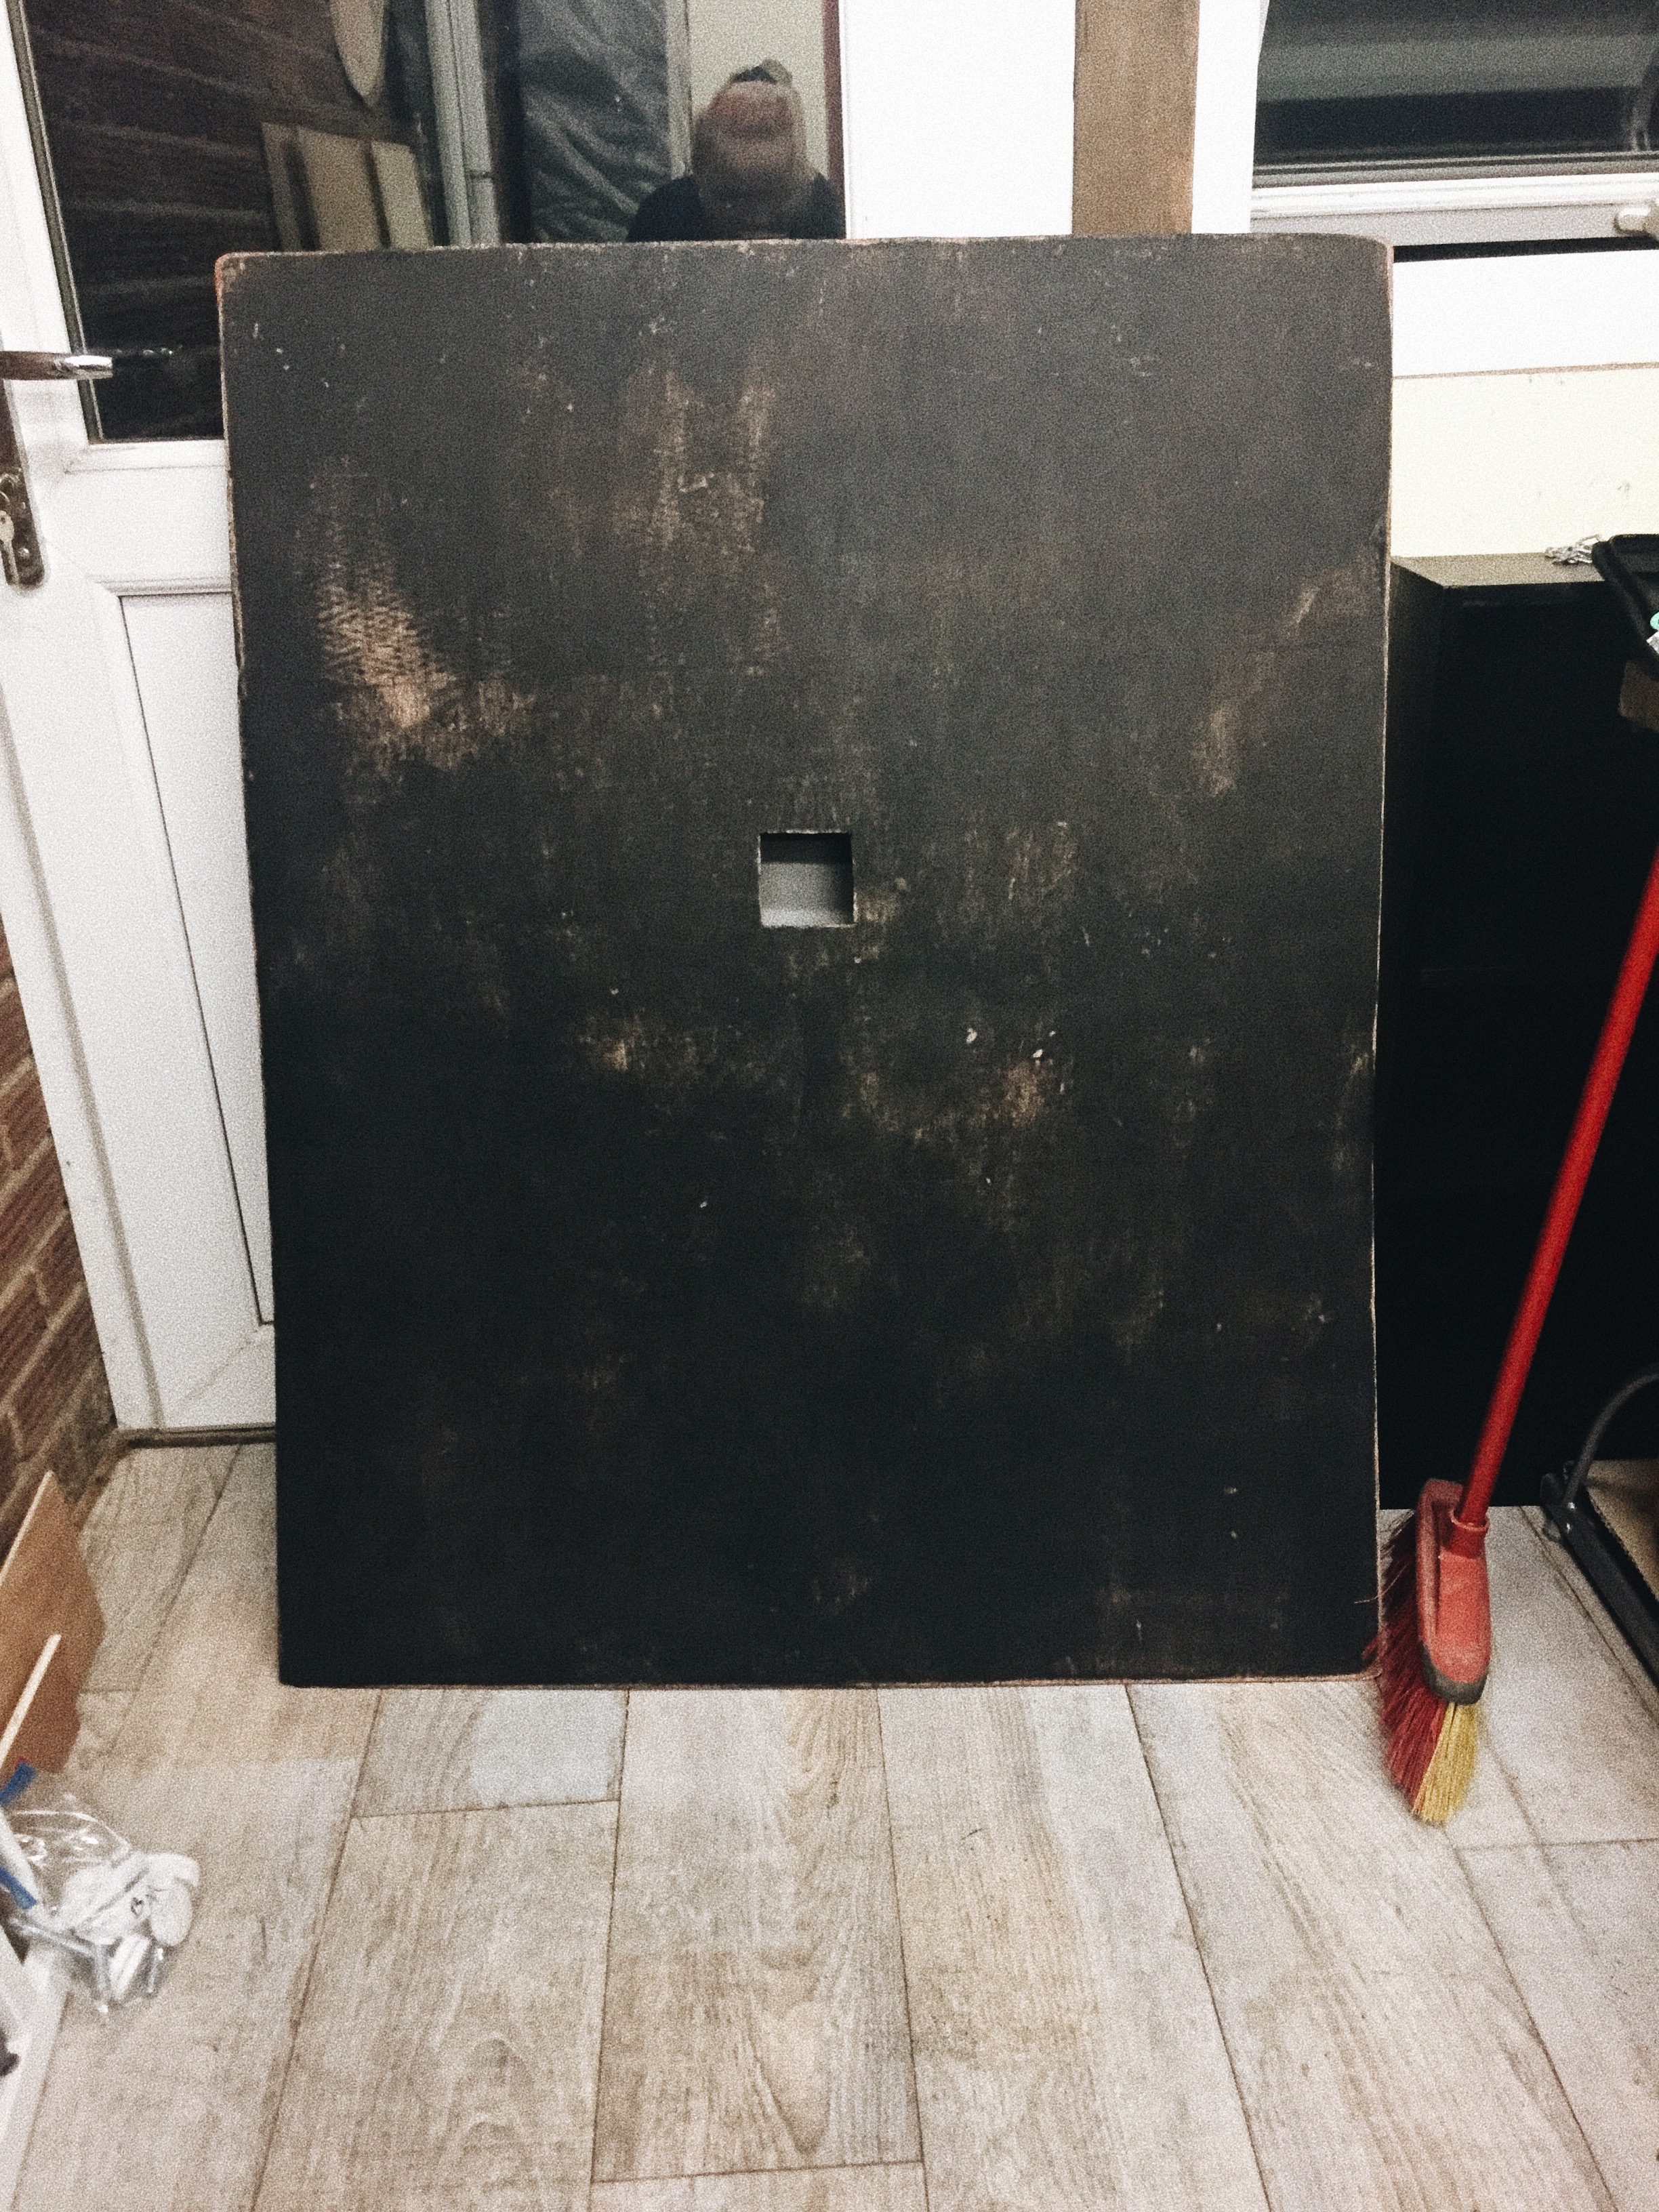
AGEING WOOD
To achieve an aged wooden look, I simply allowed the wood paint to dry entirely and proceeded to use a sander to sandpaper the wood. I made sure to round the edges of the box and the insert card so that they look worn down. There's not much to this, but it does take a long time and a lot of patience. I repeated the process on the inside of the box as well. To create a more natural effect alternate between the pressure you apply. The box would have been more worn at the edges rather than the centre. I also used the sander on metal, hooks and hinges.

LIGHT SOURCE


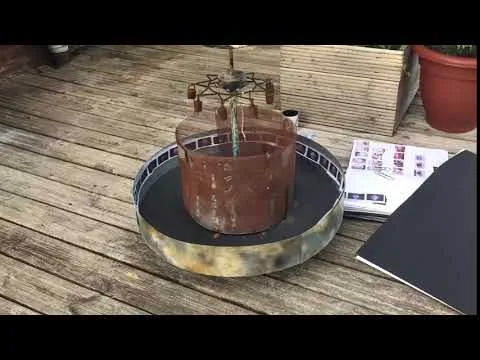
The easiest way to do this is to use a small torch or a candle but be careful you don’t burn anything. I’m being hypocritical here since I set my lampshade on fire to decorate it. Because of health and safety reasons, I couldn’t use a candle in the gallery space. I didn’t want to use a torch because it wouldn’t match the overall aesthetic I was going for, and I couldn’t use a regular lamp because the cord would coil inside of the pipe; eventually ripping the plug out of the socket as the Praxinosocpe Theatre span. I was left with an LED light which needed a severe style change. I spray painted the base black, replaced the lampshade with one I found at a charity shop, burned it, tore it, added some wire to it and finally painted on some rust. I attached the LED lamp to a garden decoration with my hot glue gun and allowed it to dry completely. Meanwhile, I rusted the copper pipe with my bleach, salt and vinegar mixture. I attached the copper pipe in the centre of the inner cylinder using a rail socket which I also spray painted black to match the base of the cylinder. I attached the LED lamp on the circular garden decoration to the copper pipe with a rope which I later on aged by rubbing in yellow paint. I made sure that the LED light switch was reachable before securing everything.
THE FILM

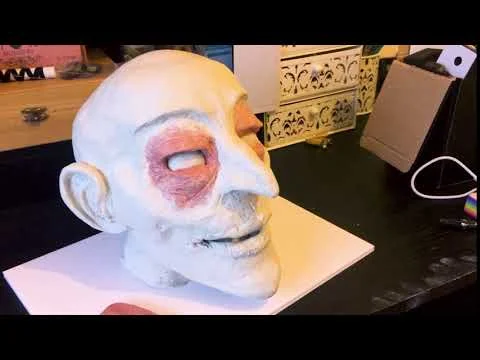
After sculpting the head and filming the stop motion animation, I chose my favourite stills and arranged them in order in InDesign. I set up the document so that it was the correct size; ready for printing. This again took some trial and error. I ended up printing a few different versions before I found the size that worked for me. I also used a box under the cylinders to lift them higher up to increase the visibility of the stop motion animation. This was also done through trial and error – setting it up, looking through the view hole and adjusting. The same went for adjusting the insert card. After I found out what worked best, I attached two chains at the precise length that worked for me. These held the insert card in place. I used a stick to measure my line of sight to ensure everything was aligned.
SETTING UP
The gallery set up was very easy since everything was previously measured. We had to transport the Praxinoscope Theatre in a van due to its' size. This also meant that some of it had to be disassembled and then put back together, which again was quite straight forward. This was, most likely, not the easiest way to go about making a Praxinoscope Theatre, but this is what worked in my brain. Perhaps it's easier to look at the pictures and videos to grasp what was happening and make sense of it all on your own as I did. Either way, I do hope the information I provided here did help.